
In the previous guide (here), we saw how to how to send strings from STM32 to Nextion display. In this guide, we shall see how to control two LEDs using Nextion display.
In this guide, we shall cover the following:
- LED control code.
- Nextion display setup.
- STM32 Setup.
- Code.
- Demo.
1. LED Control Code:
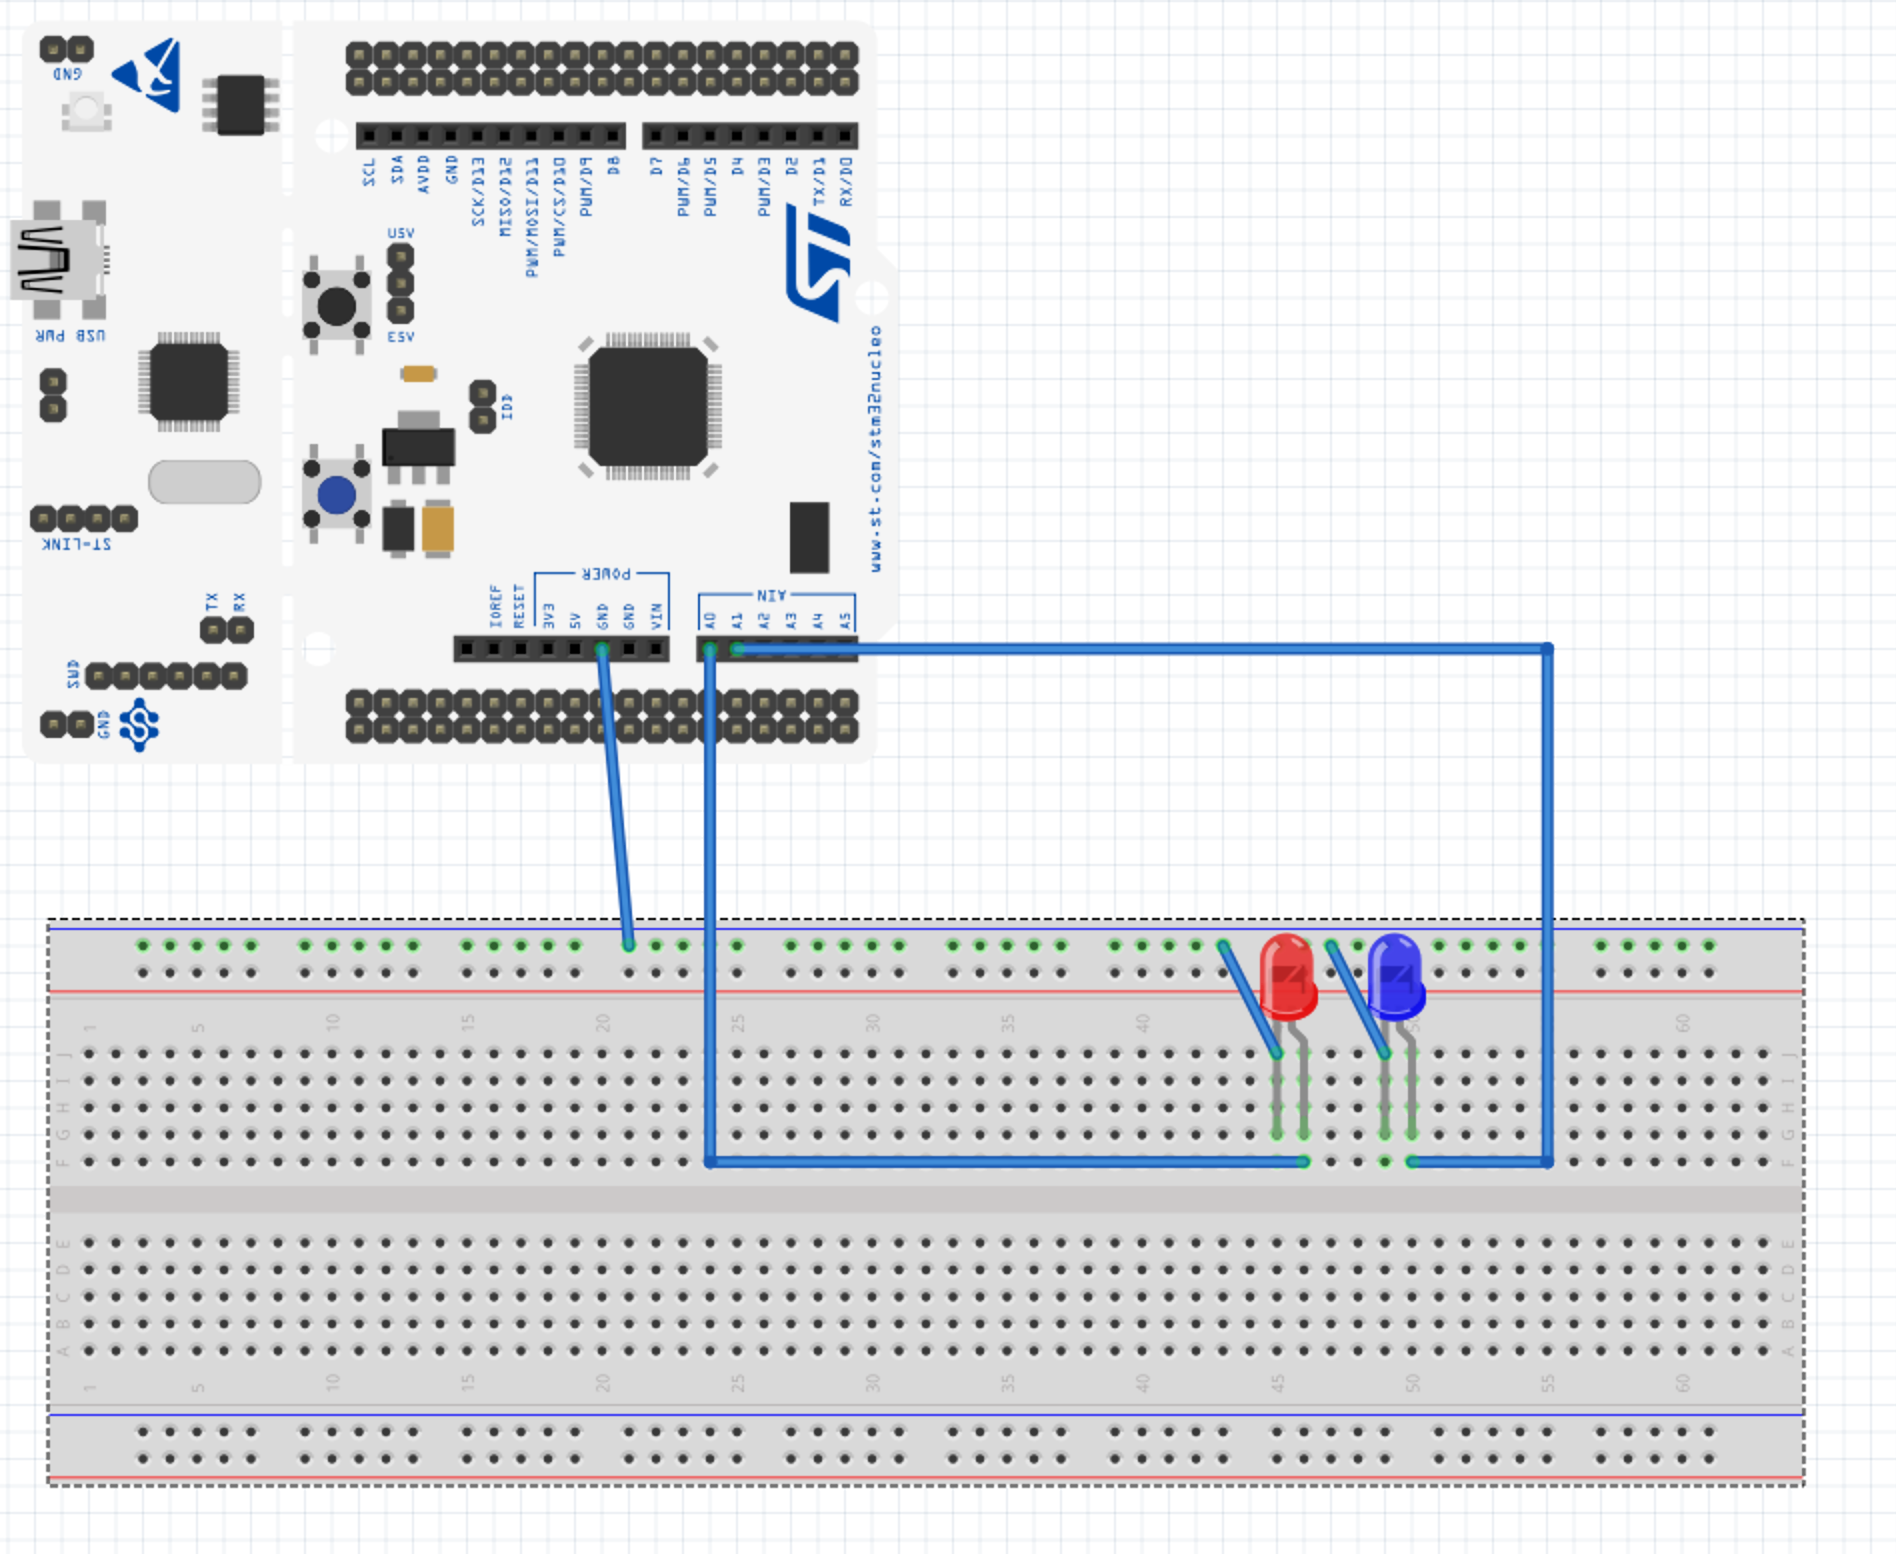
For the two LEDs, they shall be connected to PA0 and PA1 as shown here:
Hence the code as following:
led.c file:
#include "led.h"


void led_init()
	{
	RCC->AHB1ENR|=RCC_AHB1ENR_GPIOAEN;
	GPIOA->MODER|=GPIO_MODER_MODE0_0;
	GPIOA->MODER&=~GPIO_MODER_MODE0_1;
	GPIOA->MODER|=GPIO_MODER_MODE1_0;
	GPIOA->MODER&=~GPIO_MODER_MODE1_1;
	}

void led1_on()
	{
	GPIOA->BSRR=GPIO_BSRR_BS0;

	}

void led1_off()
	{
	GPIOA->BSRR=GPIO_BSRR_BR0;

	}

void led2_on()
	{
	GPIOA->BSRR=GPIO_BSRR_BS1;

	}

void led2_off()
	{
	GPIOA->BSRR=GPIO_BSRR_BR1;
	}
led.h
#ifndef LED_H_
#define LED_H_
#include "stm32f4xx.h"
void led_init();
void led1_on();
void led1_off();
void led2_on();
void le2_off();
#endif /* LED_H_ */
2. Nextion Display setup:
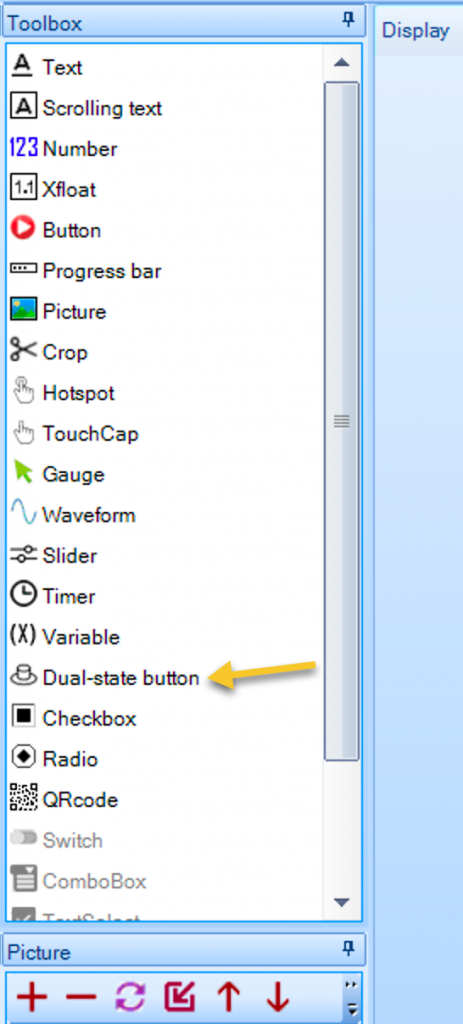
First thing add two two-state buttons as following:
From right side from attribute, set the text to be LED1 and LED2 as following:
Next, add two text area
Resize the text size according to your screen.
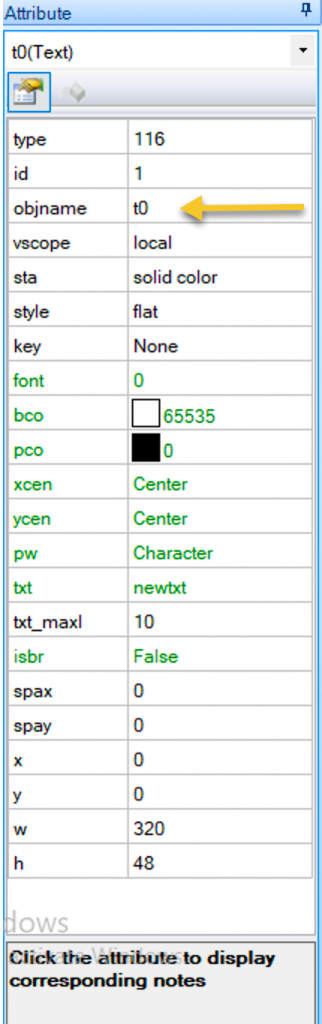
From right side, attribute, note the objname and set txt_maxl to 30:
Then, we need to generate fonts as following:
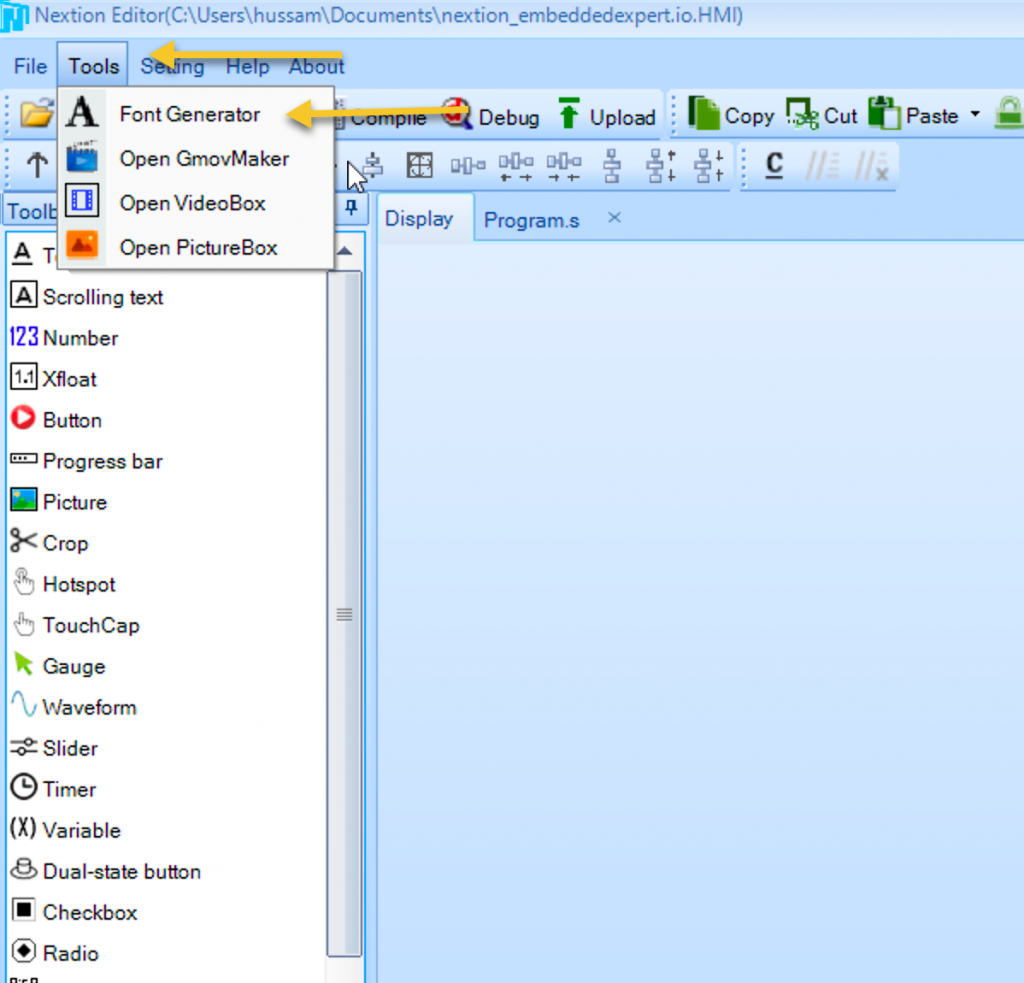
Select the type of font you like and give a name to the font:
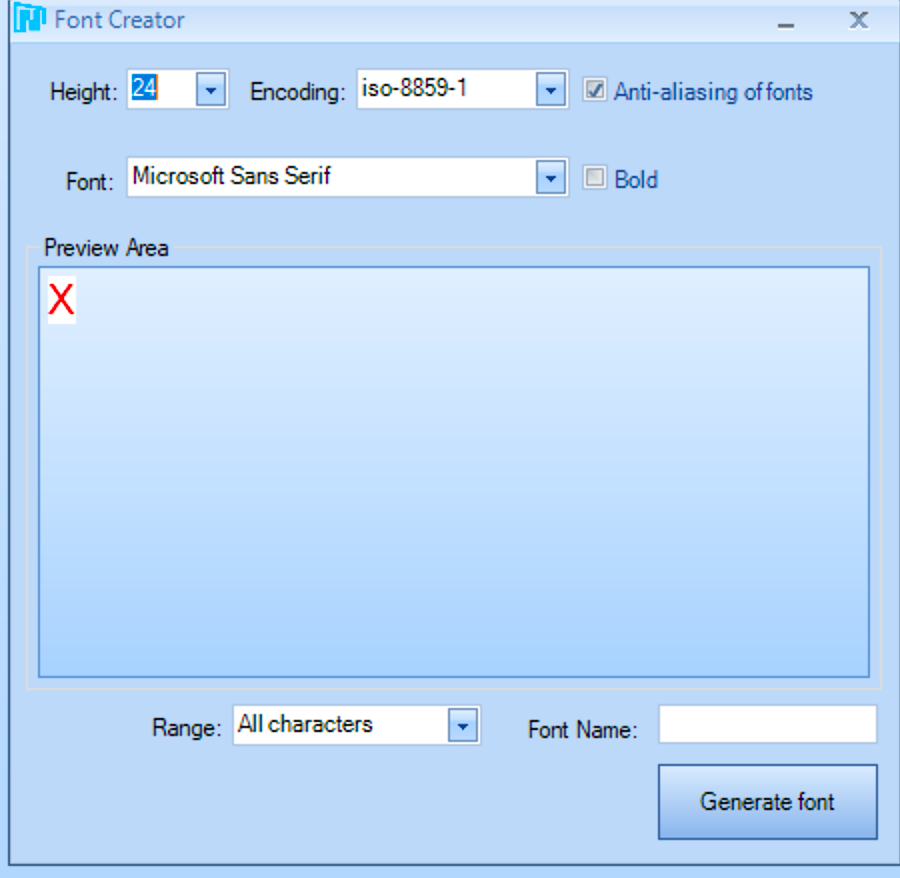
Press Generate font and save the file
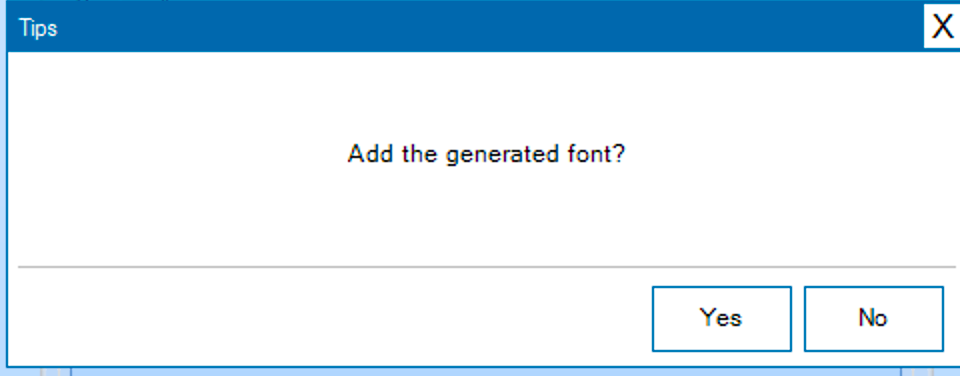
After that, press yes.
Next, highlight the first two-state button that labeled LED1:
On Touch Release Event, add the following:
print "$"
print "0"
prints bt0.id,1
prints bt0.val,1
print "&"
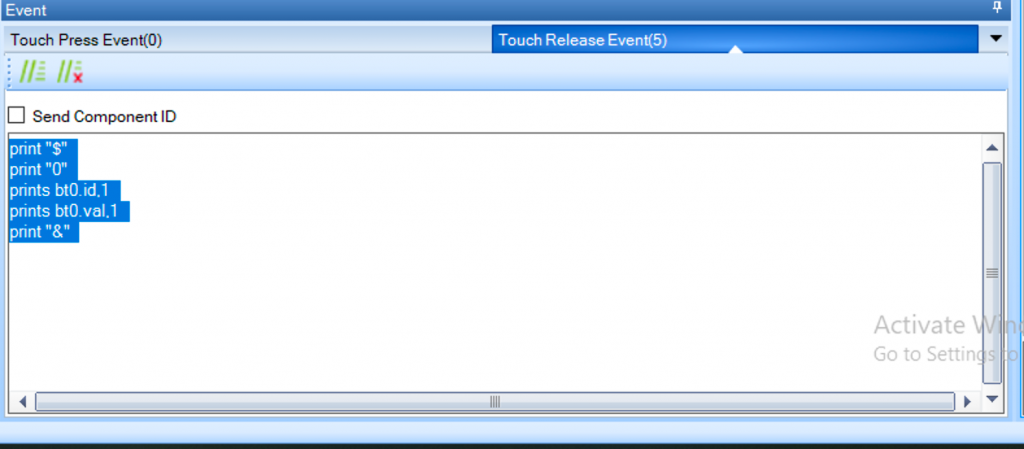
For the second two-state button:
print "$"
print "0"
prints bt1.id,1
prints bt1.val,1
print "&"
Now, debug the LCD code:

When the first toggle is generated which is on command.
You will get the following:

For second state:
As you can see, position 3 of the string is changed. The first two bytes are $ and 0. The third byte is the ID and it is 3 and 4 in my case. The last byte is & character.
Upload the new code to Nextion display using SD-card method as shown in part 2.
3. STM32 Setup:
In Nextion_uart setup function, we shall enable RX and IDLE line interrupt as following:
	USART1->CR1|=USART_CR1_RXNEIE|USART_CR1_IDLEIE;
	NVIC_EnableIRQ(USART1_IRQn);
For the buffer, we shall declare the following:
#define NEXTION_BUFF_LENG 10
volatile char NEXTION_BUFF[NEXTION_BUFF_LENG];
volatile uint32_t itr;
volatile uint8_t end_of_data;
Buffer length is 10 byte.
Character array of 10 bytes.
itr which will hold the position of current position of the array.
end of data to indicate the end of current transfer.
For the interrupt handler:
void USART1_IRQHandler(void)
{
    if (USART1->SR & USART_SR_RXNE) { /*If the interrupt source
    the RX-Line fill the buffer*/
    	NEXTION_BUFF[itr++]=USART1->DR;
    }
    /*If it is from IDLE line, set the end of data to 1 and read DR register*/
    if(USART1->SR & USART_SR_IDLE)
    	{
    		end_of_data=1;
    		(void)USART1->DR;
    	}
    if(itr==NEXTION_BUFF_LENG){

    	itr=0;
    }
}
Now, we shall check if the new data is available as following:
uint8_t received_data()
	{
	return end_of_data;
	}
It shall return the value of end_of_data.
For processing the data:
void process_data()
{
	if(NEXTION_BUFF[0]==0x24) /*LED control*/
		{
			if(NEXTION_BUFF[2]==0x03) /*LED 1*/
			{
				if(NEXTION_BUFF[3]==0x00){led1_off();nextion_write_text("t0","LED1 is off");}
				if(NEXTION_BUFF[3]==0x01){led1_on();nextion_write_text("t0","LED1 is on");}
			}

			if(NEXTION_BUFF[2]==0x04) /*LED 2*/
			{
				if(NEXTION_BUFF[3]==0x00){led2_off();nextion_write_text("t1","LED2 is off");}
				if(NEXTION_BUFF[3]==0x01){led2_on();nextion_write_text("t1","LED2 is on");}
			}

		}

	memset(NEXTION_BUFF,0,NEXTION_BUFF_LENG);
	itr=0;
	end_of_data=0;

}
In the main function:
#include "delay.h"
#include "string.h"
#include "nextion_uart.h"
#include "led.h"
/*Nextion Buffer size*/


char data_send[10];
uint8_t counter;
int main(void)
	{
	SCB->CPACR |= ((3UL << 10*2)|(3UL << 11*2));
	led_init();
	systick_init_ms(16000000);
	nextion_uar_init(115200,16000000);

	while(1)
		{
			if(received_data()==1)
				{
					process_data();
				}
		}
	}
4. Code:
You may download the code from here:
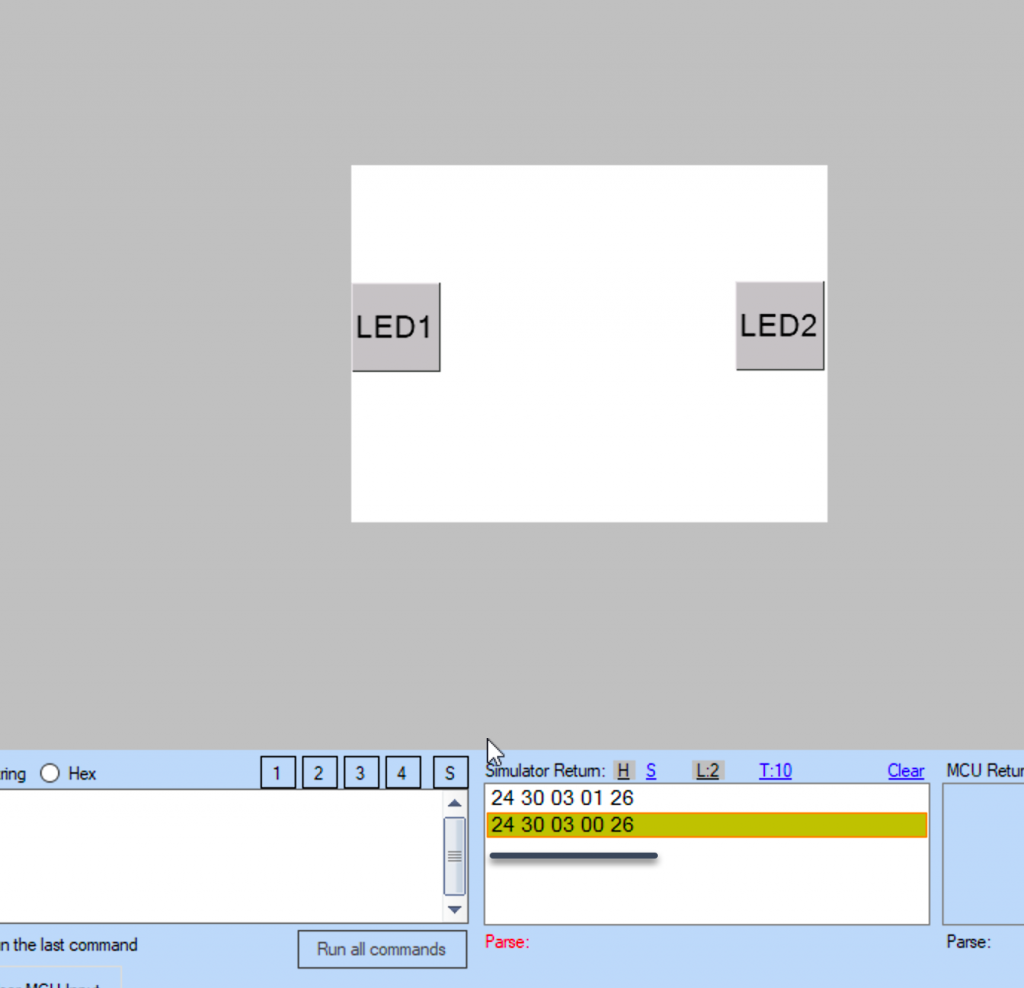
5. Demo:
Happy coding 🙂
Add Comment