

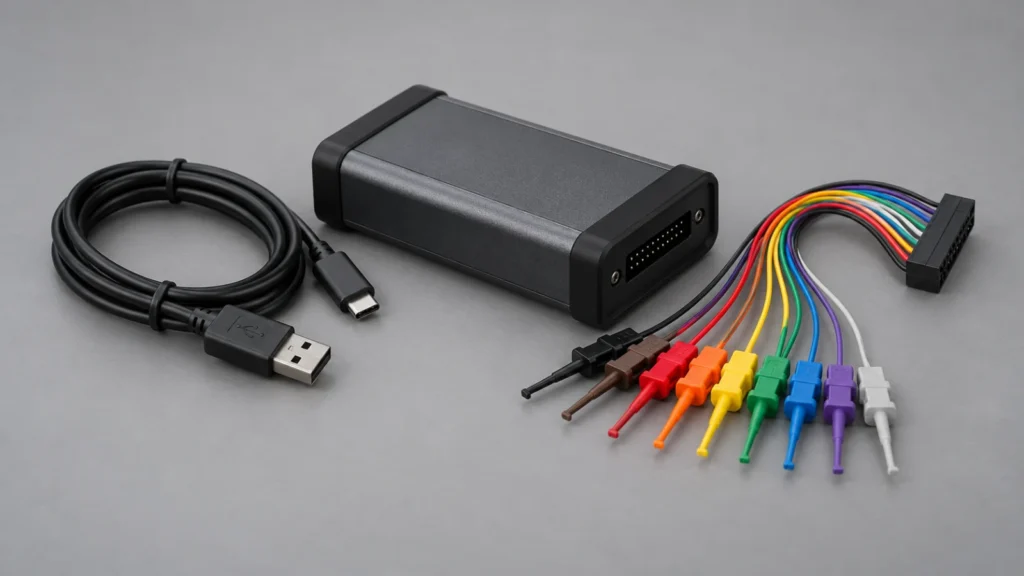
In previous guide(part 1), we looked for how to send a single character. Now we will extend the usage of uart module to send a string contains “Hello from stm32f4” and a variable as “my variable is variable”
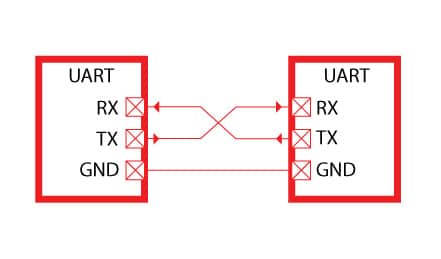
In this guide we will cover the following:
- Extra steps needed to send a string
- Code
- Results
1. Extra steps needed to send a string
Starting from part 1, we need to add the following two header file
#include "stdio.h" //stdio which allows us to use sprinttf
#include "stdint.h" //standardd int defention
then the prototype of the function to send a string
void UART_Write_String(char *p);
then the buffer to hold the data and variable
char buffer[40]={'0'};
unsigned int variable;
Now for the function that allows us to print the string
void UART_Write_String(char *p)
	{
	while(*p!='\0')
{
USART_write(*p);
p++;
}
}
The function works as following
First, we pass the string as argument, then it sends the string character by character until reaches NULL (‘\0’) then it stops
Related course
Explore printf and modular UART drivers
Continue from the string-sending function into broader UART driver design. The course covers UART transmission, reception, printf retargeting and receiver interrupts on STM32F4. Work through these drivers alongside the device documentation, with supporting peripheral examples that help put serial communication in context.
2. Code
#include "stm32f4xx.h"                  // Device header
#include "stdio.h"
#include "stdint.h"
void USART_write(int ch);
void USART2_Init(void);
void delay(int delayms);
void UART_Write_String(char *p);

char buffer[40]={'0'};
unsigned int variable;

int main(){

USART2_Init();
while(1){
UART_Write_String("---------------------------\r\n");
UART_Write_String("hello from stm32f411RE\r\n");
sprintf(buffer,"my variable is %u \r\n",++variable);
UART_Write_String(buffer);
UART_Write_String("---------------------------\r\n");
//variable=variable+1;
delay(1000);
}
}

void USART2_Init(void){
RCC->APB1ENR|=RCC_APB1ENR_USART2EN;
RCC->AHB1ENR|=RCC_AHB1ENR_GPIOAEN;
GPIOA->AFR[0]=0x0700;
GPIOA->MODER|=(1<<5);//set bit5
GPIOA->MODER&=~(1<<4);//reset bit4
USART2->BRR  = 0x0681;    //9600 @16MHz
USART2->CR1  |=0x2008; // enable tx

}

void USART_write(int ch){
while(!(USART2->SR&0x0080)){
}
USART2->DR=(ch);

}

void UART_Write_String(char *p)
	{
	while(*p!='\0')
{
USART_write(*p);
p++;
}
}


void delay(int delayms){
volatile int i;
	for(; delayms>0;delayms--){
	for(i=0;i<3192;i++);
	}
}
3. Results
After compiling and uploading the code, open your serial terminal and set the baud to 9600 and you will get this

Your website would be much imporved if it had a basic search bar
Hi,
there is a search bar above