
In this guide, we shall see how to work with Nextion display with STM32.
In this part of guide, we shall cover the following:
- What is nextion display.
- Nextion editor Setup.
- STM32 setup.
1. What is Nextion Display:
Nextion is a Seamless Human Machine Interface (HMI) solution that provides a control and visualisation interface between a human and a process, machine, application or appliance. Nextion is mainly applied to IoT or consumer electronics field. It is the best solution to replace the traditional LCD and LED Nixie tube.
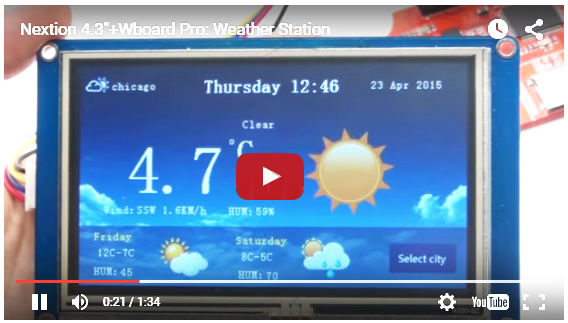
Nextion includes hardware part (a series of TFT boards) and software part (the Nextion editor). The Nextion TFT board uses only one serial port to communicate. It lets you avoid the hassle of wiring. We notice that most engineers spend much time in application development but get unsatisfactory results. In this situation, Nextion editor has mass components such as button, text, progress bar, slider, instrument panel etc. to enrich your interface design. And the drag-and-drop function ensures that you spend less time in programming, which will reduce 99% of your development workloads. With the help of this WYSIWYG editor, designing a GUI is a piece of cake.
2. Nextion Editor Setup:
First thing is head to Nextion Editor from here.
Then press on download EXE file:
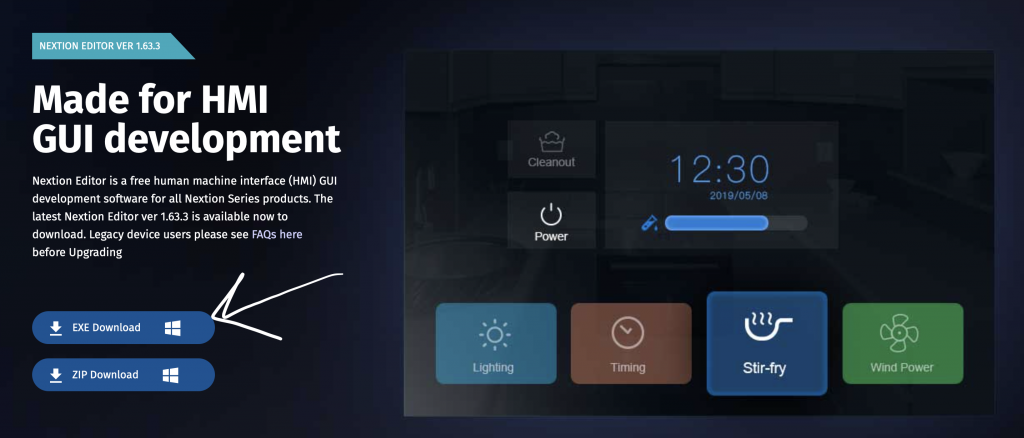
After download, install the program (simple next next ).
3. STM32 Setup:
Connecting the Nextion display to the STM32 is very straightforward. You just need to make four connections: GND, RX, TX, and +5V. These pins are labeled at the back of your display, as shown in the figure below.

Nextion display pinout
Here’s how you should wire the Nextion display:
| Nextion | Wiring to |
| GND | GND |
| RX | PA9 (USART1 TX) |
| TX | PA10 (USART1 RX) |
| VCC | 5V |
Since the utilitized Serial is USART1, we need to configure the USART1.
The following is the configuration:
- Baud 115200 (depending on your model)
- RX in interrupt mode
- TX in polling mode.
Hence, the configuration is as following:
#include "stm32f4xx.h"
#include "nextion_uart.h"
#include "stdio.h"
#include "string.h"
static void uart_set_baudrate(USART_TypeDef *USARTx, uint32_t PeriphClk,  uint32_t BaudRate);
#define AF07 0x07

uint8_t comend[3]={0xFF,0xFF,0xFF};

void nextion_uar_init(uint32_t baud,uint32_t freq)
{
	/*Enable clock access to GPIOA and USART1*/
	RCC->APB2ENR|=RCC_APB2ENR_USART1EN;
	RCC->AHB1ENR|=RCC_AHB1ENR_GPIOAEN;
	/*Configure the GPIO for UART Mode*/
	GPIOA->MODER|=GPIO_MODER_MODE9_1;
	GPIOA->MODER&=~GPIO_MODER_MODE9_0;
	GPIOA->MODER|=GPIO_MODER_MODE10_1;
	GPIOA->MODER&=~GPIO_MODER_MODE10_0;
	GPIOA->AFR[1]|=(AF07<<GPIO_AFRH_AFSEL9_Pos)|(AF07<<GPIO_AFRH_AFSEL10_Pos); //ALT7 for UART1 (PA9 and PA10)
	/*Configure UART*/
	uart_set_baudrate(USART1,freq,baud);
	USART1->CR1|=USART_CR1_TE|USART_CR1_RE;
	USART1->CR1|=USART_CR1_RXNEIE;
	NVIC_EnableIRQ(USART1_IRQn);
	USART1->CR1|=USART_CR1_UE;
}


static uint16_t compute_uart_bd(uint32_t PeriphClk, uint32_t BaudRate)
{
	return ((PeriphClk + (BaudRate/2U))/BaudRate);
}

static void uart_set_baudrate(USART_TypeDef *USARTx, uint32_t PeriphClk,  uint32_t BaudRate)
{
	USARTx->BRR =  compute_uart_bd(PeriphClk,BaudRate);
}


void uart1_write(char ch)
{
  /*Make sure the transmit data register is empty*/
	while(!(USART1->SR & USART_SR_TXE)){}

  /*Write to transmit data register*/
	USART1->DR	=  (ch );
}
This is setup for USART1 to communicate between STM32 & Nextion display.
In next part, we shall see how to send strings from STM32 to Nextion display.
Stay tuned 😉
Happy coding 🙂
6 Comments
Very nice
Where do I find nextion_uart.h?
In part 1, the contain of header is only the header declaration and the function.
You may download the entire source code from this guide:
https://blog.embeddedexpert.io/?p=1129
Thank you.
hey i tried using nextion display with stm32F410 nucelo board but not able to communicate or i am not able to change the text in the display but if i am doing the same thing with arduino then i am able to do can you guide me in doing this.
Hi,
double check which pins are for the UART and the baudrate to match the one in the display.
Add Comment