In the previous guide (here), the usage of Liquid Crystal Display with I2C is presented, in this guide, the usage of custom character capability of the LCD shall be discussed.
The following will be covered:
- Custom Character of LCD.
- Code.
- Demo.
1. Custom Character of LCD:
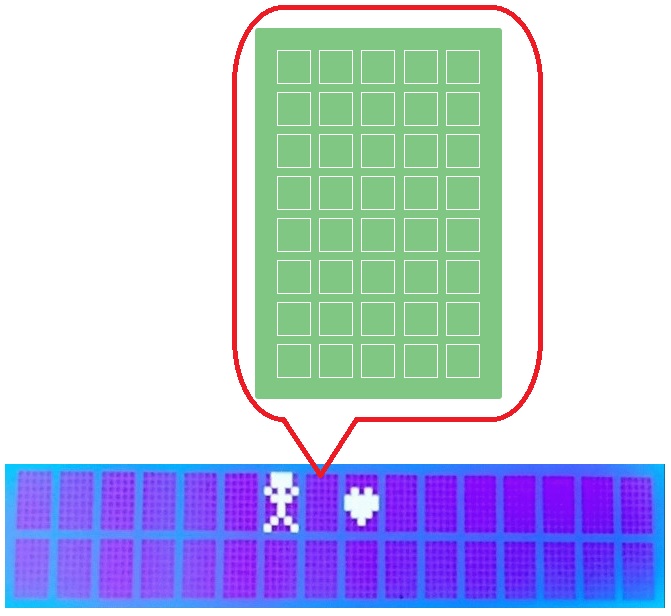
The LCD 1602 have 16 blocks of 40 pixels each. These 40 pixels are divided into 5 columns and 8 rows, and we will use these 5 columns and 8 rows to draw a 5×8 custom character.
As per the LCD 1602 datasheet, the IC contains the Character Generator ROM (CGROM) and Character Generator RAM (CGRAM).
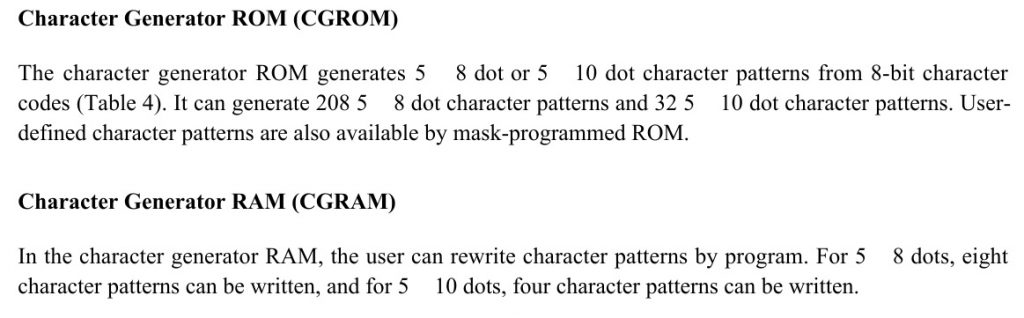
The CGROM is where the characters patterns are predefined and each character have fixed address associated with it, which helps us access these characters. Basically all the ascii characters we use in the LCD are defined here in the CGROM. This is shown below in the figure 3.
The CGRAM is where the user can save the custom character patterns. In total we can store up to 8 patterns of 5×8 dots. We can later access these characters by calling the address of the corresponding character. The CGRAM addresses for custom characters are shown below.
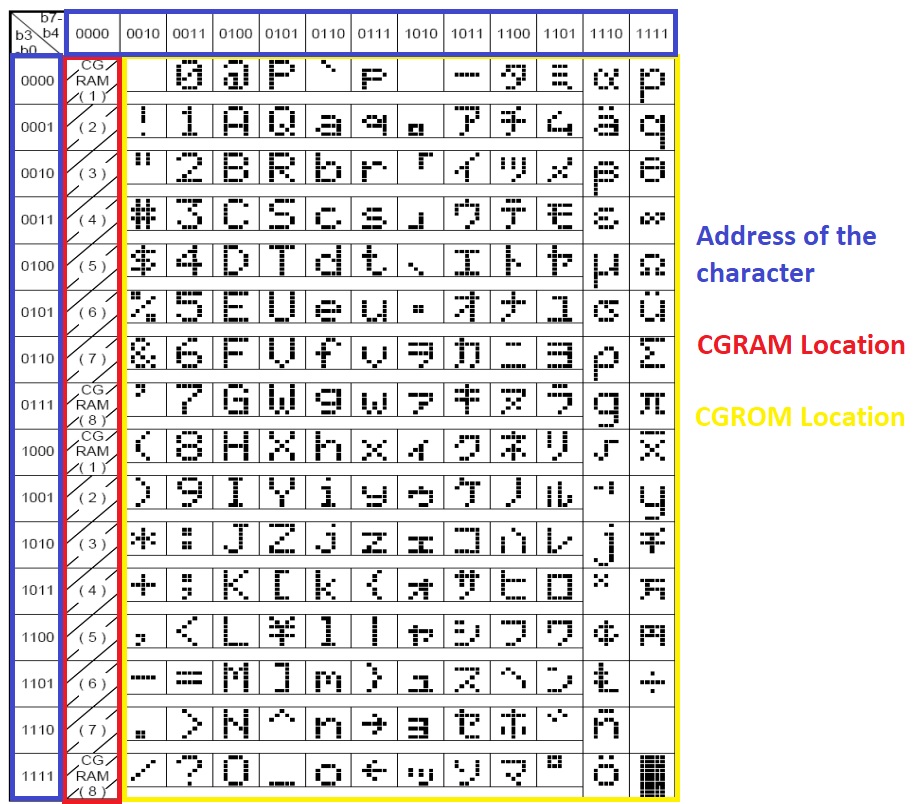
- As shown in the figure above, the red box is the location of the CGRAM. There are totally 8 bytes (CGRAM1 – CGRAM8).
- The yellow box represents the location of the CGROM
- The blue box represents the address of these locations.
We will first display the character in the CGROM and then create the custom characters, store them in the CGRAM and display them.
2. Code:
In order to display custom character, first the custom character has to be stored in the proper location:
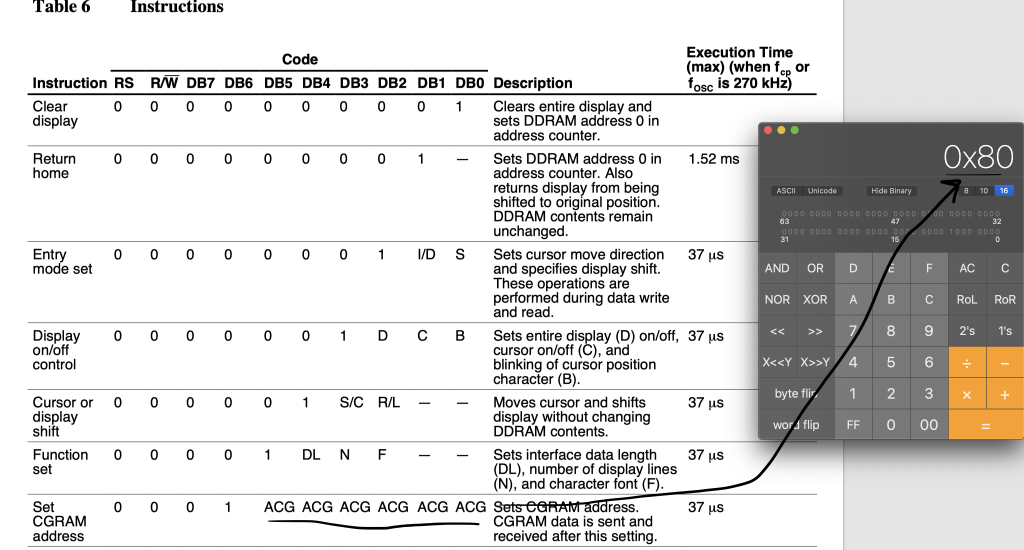
From the datasheet, the CGRAM address starts at 0x80 and each one is offset by 8 for each character. The maximum can be is 8 character, hence the start address is 0x80 and the end address is 0x80+56.
Hence, we can start develop the code:
To start off, we declare a function which takes two arguments, number and the character as a pointer:
void create_custom_char (uint8_t loc, char * data){


}
then switch statement for the location:
switch (loc)
		{
	case 0:lcd_send_cmd(0x40);break;
	case 1:lcd_send_cmd(0x40+8);break;
	case 2:lcd_send_cmd(0x40+16);break;
	case 3:lcd_send_cmd(0x40+24);break;
	case 4:lcd_send_cmd(0x40+32);break;
	case 5:lcd_send_cmd(0x40+40);break;
	case 6:lcd_send_cmd(0x40+48);break;
	case 7:lcd_send_cmd(0x40+56);break;
	default : break;
	}
Then, create an array to hold the character:
uint8_t cc_data[8];
	for (int i=0;i<8;i++)
		{
		cc_data[i]=*data++;
		}
Then send those character as following:
for (int i=0;i<8;i++)
			{
			lcd_send_data(cc_data[i]);
			}
To display the character, it is as simple as calling the memory location:
void display_custom_char (uint8_t loc)
	{
	switch (loc)
			{
		case 0:lcd_send_data(0);break;
		case 1:lcd_send_data(1);break;
		case 2:lcd_send_data(2);break;
		case 3:lcd_send_data(3);break;
		case 4:lcd_send_data(4);break;
		case 5:lcd_send_data(5);break;
		case 6:lcd_send_data(6);break;
		case 7:lcd_send_data(7);break;
		default: break;
	}
}
In main function:
char cc1[8] = {0x00, 0x00, 0x0A, 0x00, 0x11, 0x0E, 0x00, 0x00};  // smiley
char cc2[8] = {0x0E, 0x0E, 0x04, 0x0E, 0x15, 0x04, 0x0A, 0x0A};  // Robo
char cc3[8] = {0x08, 0x0C, 0x0E, 0x0F, 0x0E, 0x0C, 0x08, 0x00};  // arrow
char cc4[8] = {0x00, 0x04, 0x0E, 0x0E, 0x0E, 0x1F, 0x04, 0x00};  // bell
char cc5[8] = {0x00, 0x00, 0x0A, 0x15, 0x11, 0x0E, 0x04, 0x00};  // Heart
char cc6[8] = {0x00, 0x0E, 0x11, 0x11, 0x11, 0x0A, 0x1B, 0x00};  // omega
char cc7[8] = {0x0E, 0x10, 0x17, 0x12, 0x12, 0x12, 0x10, 0x0E};  // CT
char cc8[8] = {0x04, 0x04, 0x1F, 0x04, 0x04, 0x00, 0x1F, 0x00};  // +-
	create_custom_char(0,cc1);
	create_custom_char(1,cc2);
	create_custom_char(2,cc3);
	create_custom_char(3,cc4);
	create_custom_char(5,cc6);
	create_custom_char(6,cc7);
	create_custom_char(7,cc8);
setCursor(0, 0);
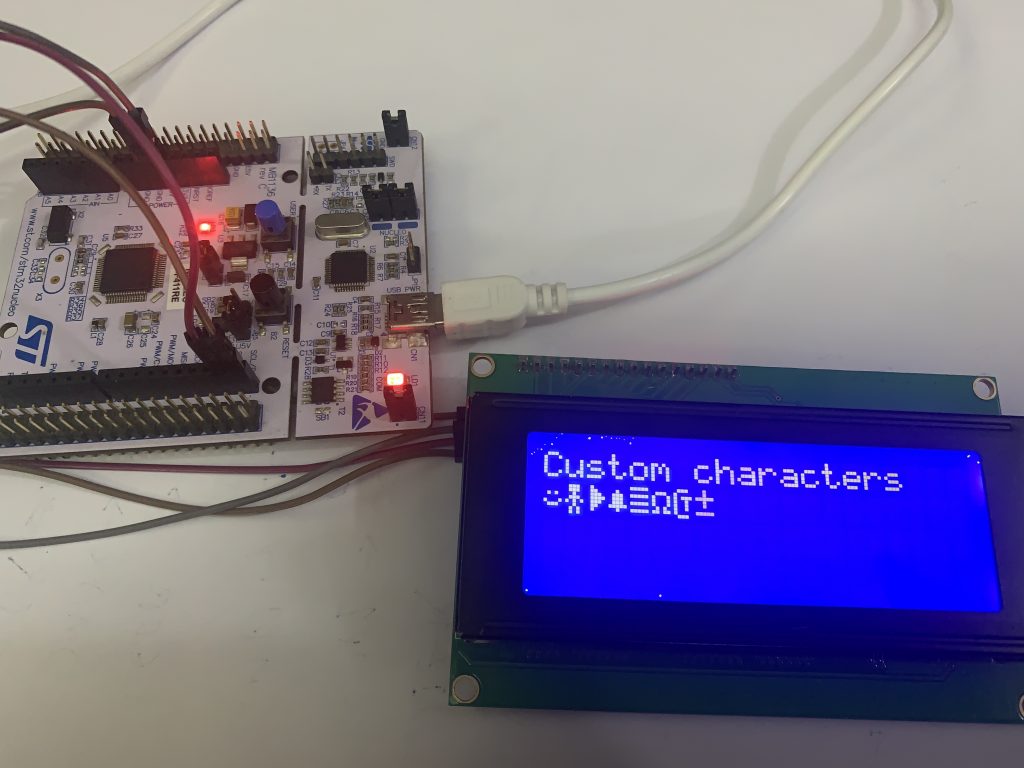
lcd_send_string("Custom characters");
delay(200);
setCursor(0, 1);
for (int i=0; i<8; i++) {display_custom_char(i); delay(300);}
delay(700);
lcd_clear();
delay(200);Note: those function available within the previous guide.
3. Demo:
Happy coding 🙂
Add Comment