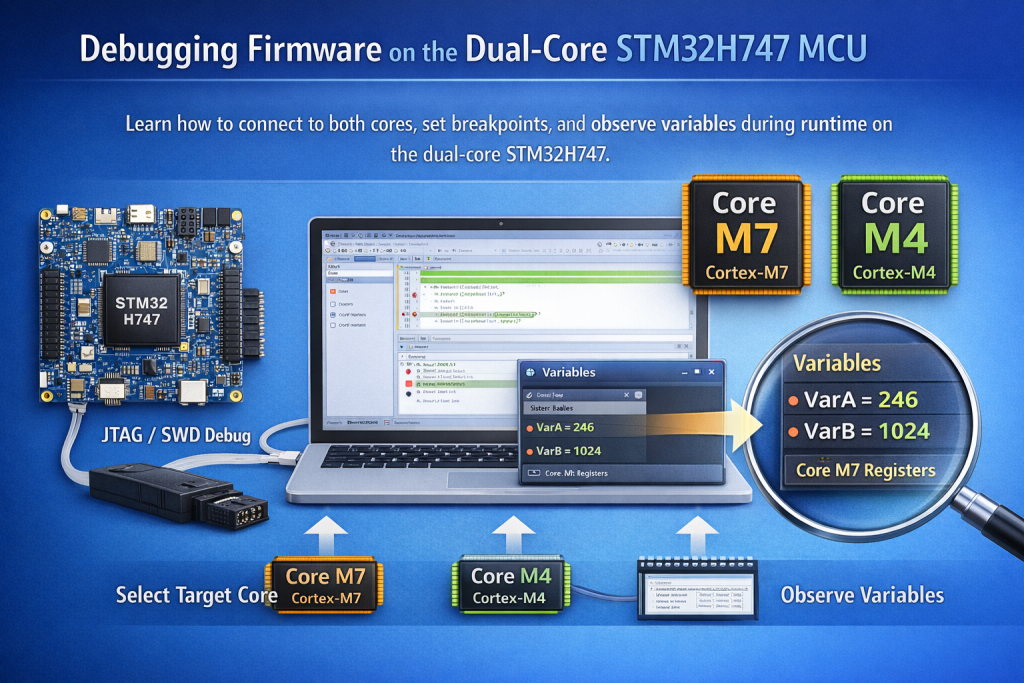
In this second part, the guide focuses on debugging firmware on the dual-core STM32H747 with particular emphasis on observing variables during runtime. It explains how to attach the debugger to each core, inspect memory and registers, and track variable changes to verify correct system behavior.
In this guide, we shall cover the following:
- Firmware Development.
- How to launch the debug session.
- Results.
6. Firmware Development:
In this part, we shall add variables for both core to observer them in the live expression window of STM32CubeIDE.
In main.c for CM7 part of the project, in user code begin PV, declare the following global variable:
uint8_t counter_cm7;
In while 1 loop before the led toggle, increment the variable as follows:
counter_cm7++;
Save the project.
In main.c for CM4 part of the project, declare the following global variable:
uint8_t counter_cm4;
In while 1 loop just before the toggle led operation, increment the variable as follows:
counter_cm4++;
Save the project.
Thats all for the firmware.
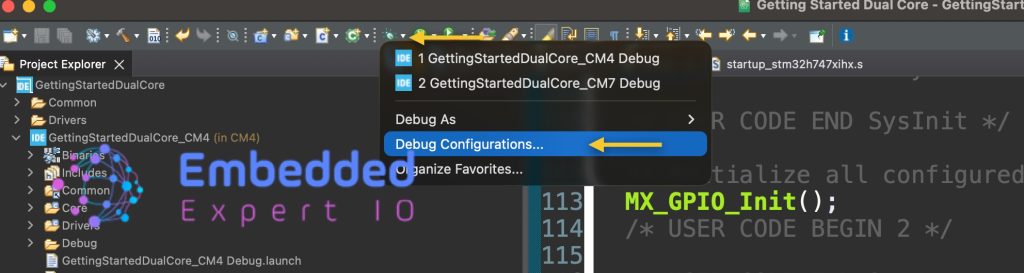
7. How Launch the Debugger:
From top toolbar, click on the down arrow near the debugging icon and select debug configuration as follows:
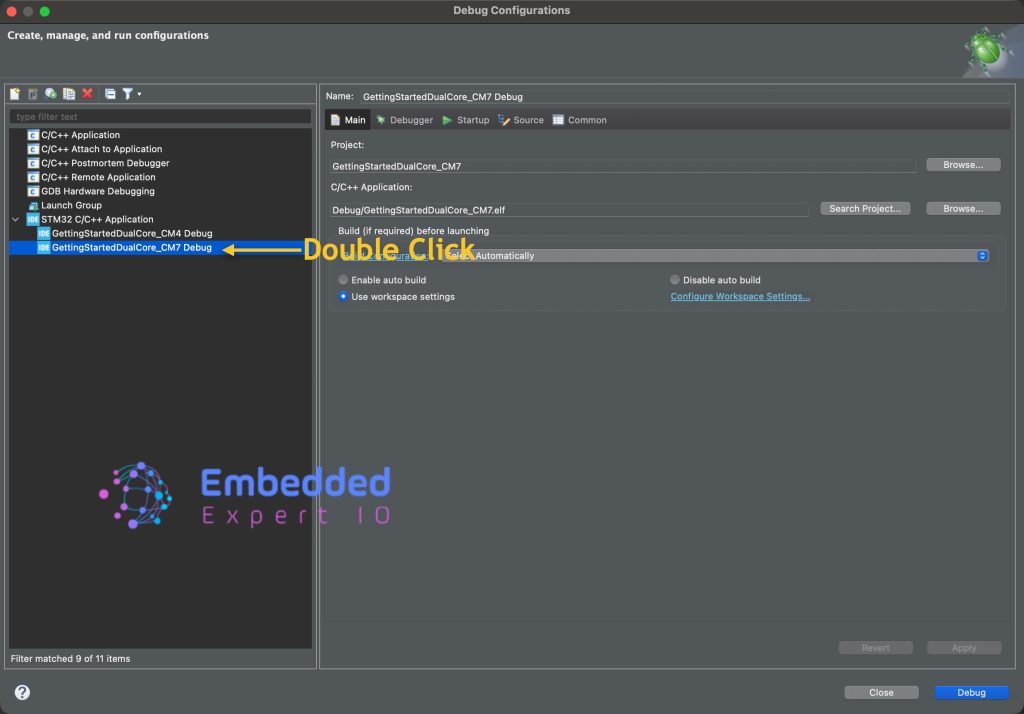
Next, from left side of the window, double click on CM7 part of the project as follows:
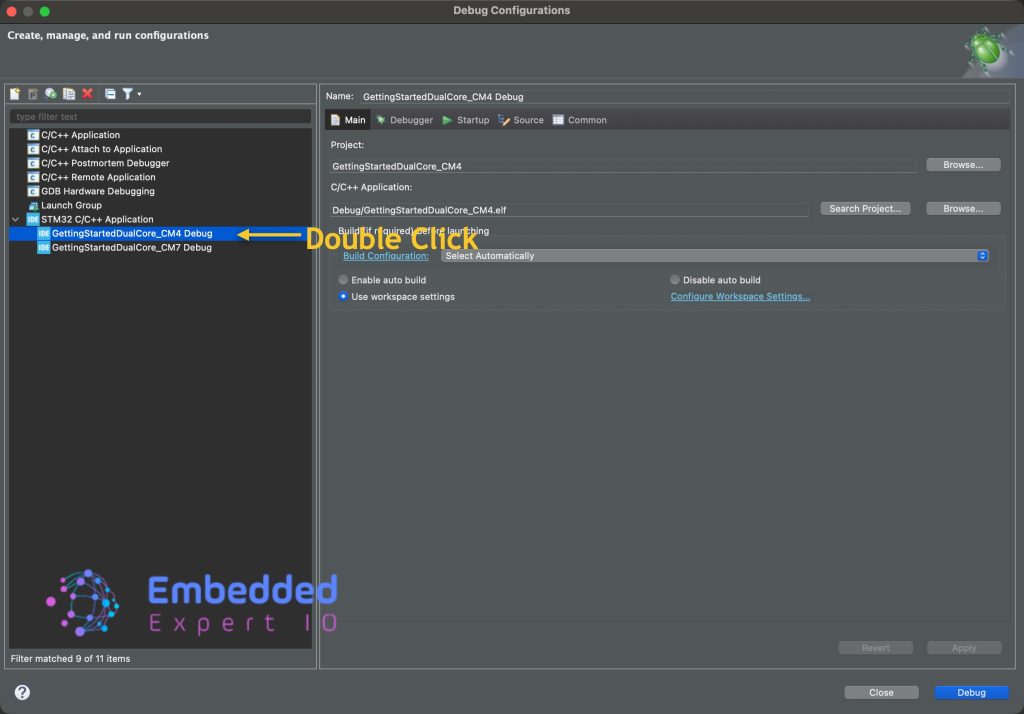
Next, launch another debugger session for the CM4 part by clicking on down arrow and select debug configuration as follows:

Launch CM4 debug session:
Next, highlight both project and click on resume as follows:
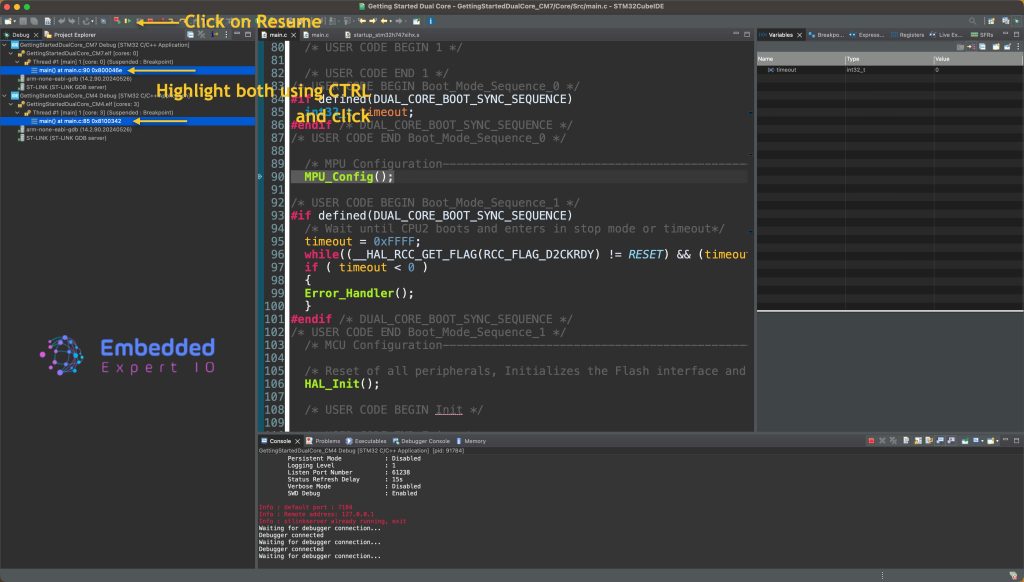
Now, you can debug both core by setting breakpoints, observe memory etc.
8. Results:
By adding counter_cm7 and counter_cm4 to live expression window, you should be able to see the variable incrementing as follows:
Now, you can debug the both core without any issue.
Happy coding 😉
Add Comment