
In this guide, we shall see how to create startup screen using TouchGFX without writing single line of code.
In this guide, we shall cover the following:
- TouchGFX project.
- Results.
1. TouchGFX Project:
Open TouchGFX designer and create new project as following:
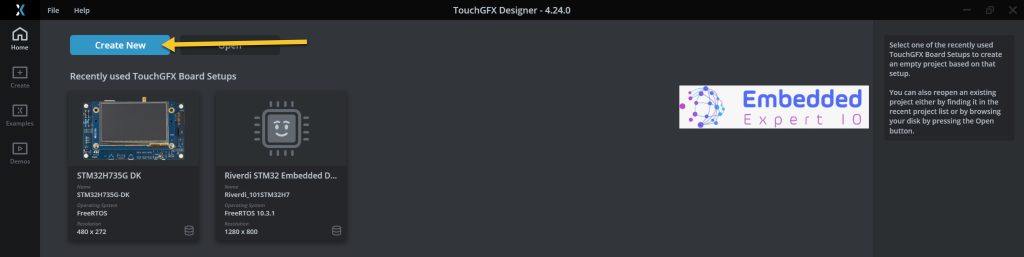
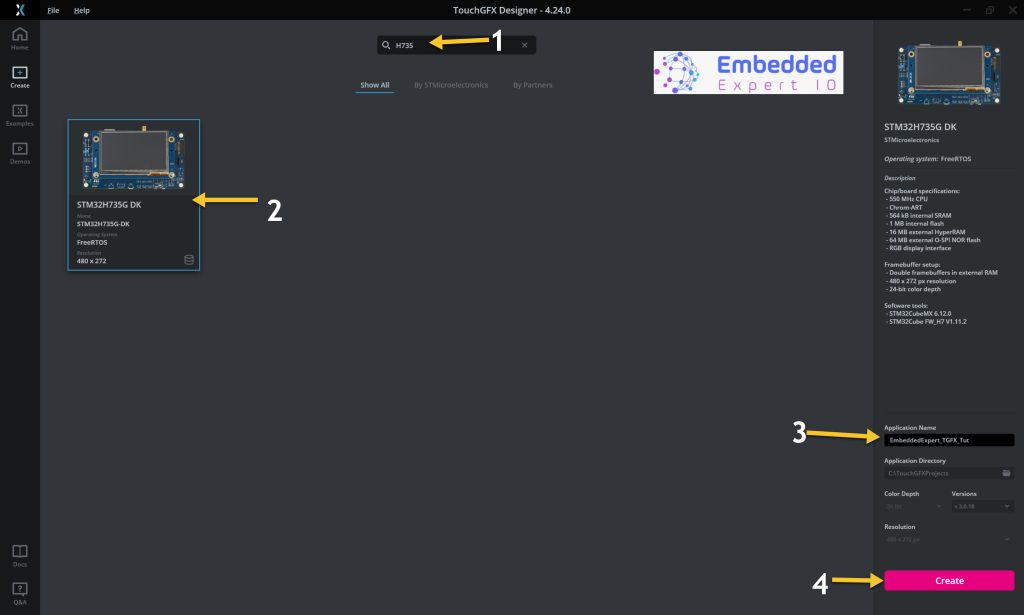
Then select your board, give the project a name and click on create.
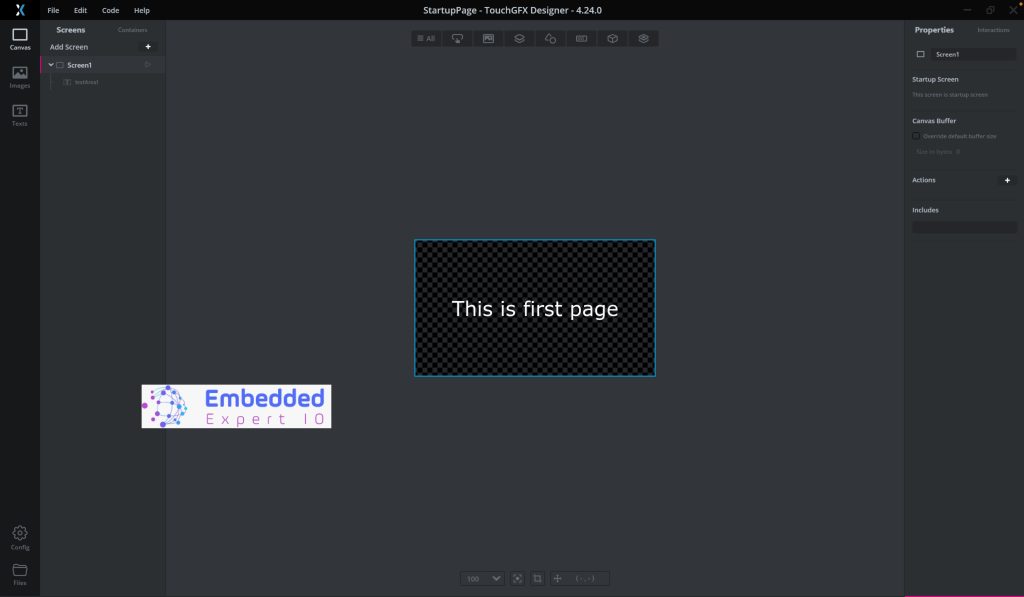
Create the first screen as you wish.
Here we have simple text display:
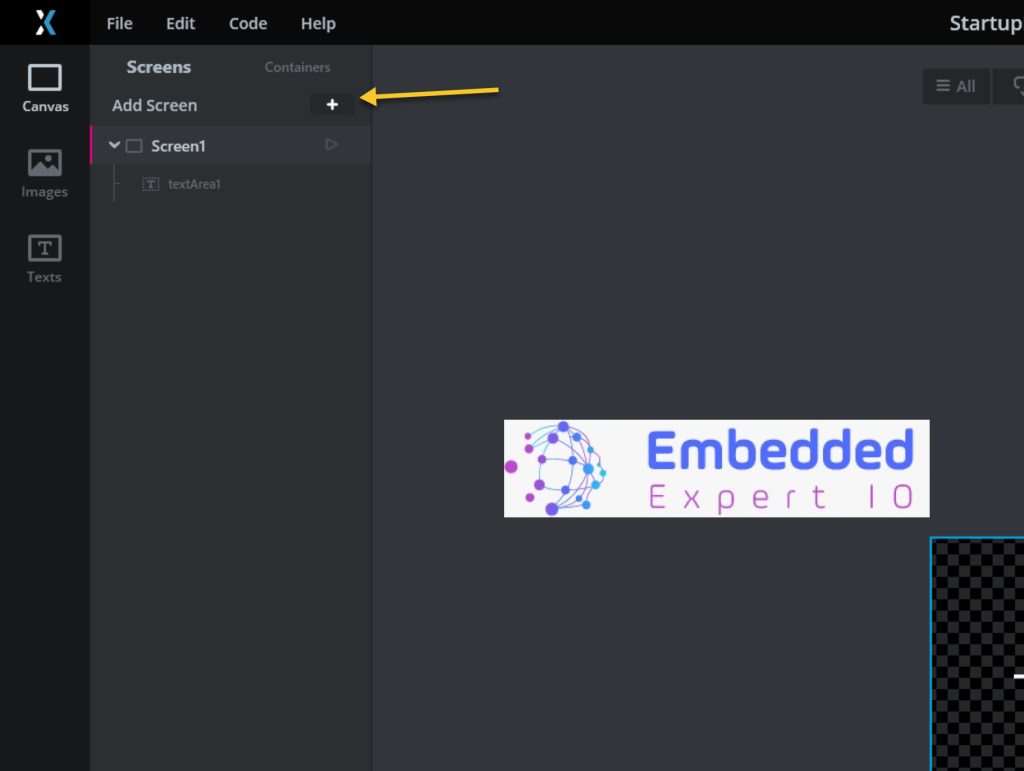
Next, from left side, add new screen as following:
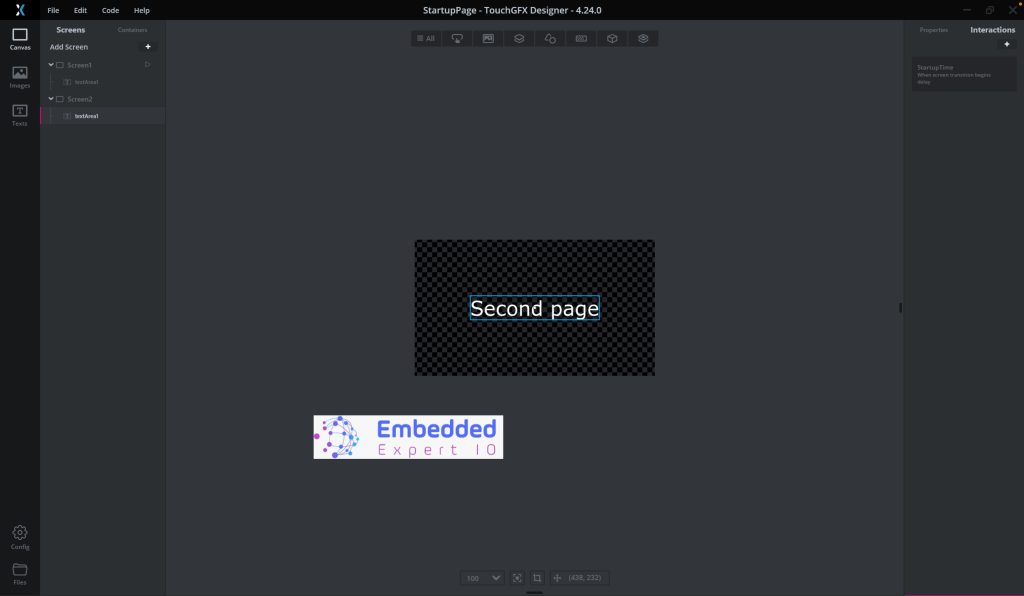
Create second screen as per your project.
Here we have simple text to be displayed:
Next, from the left side, select the first screen as following:
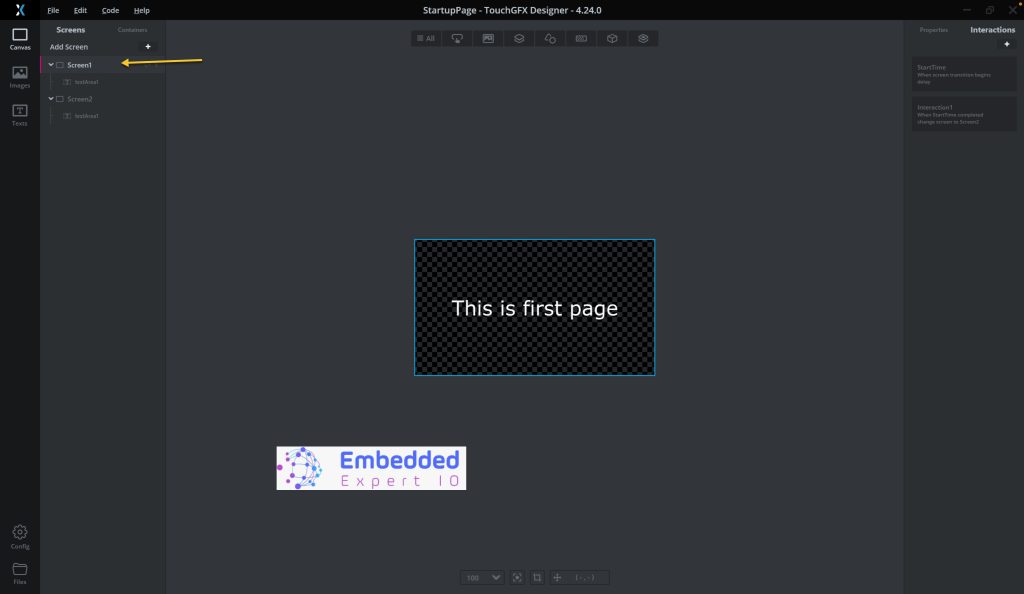
From the right side, select interaction and add new interaction as following:
The interaction has the following parameters:
Trigger: Screen transition begins.
Action: Wait for.
Duration: 5000 milliseconds which is 5seconds (select the value you desire).
Tick in Can trigger another interaction.
Give it a name like StartupTime for example
Add new interaction as following:
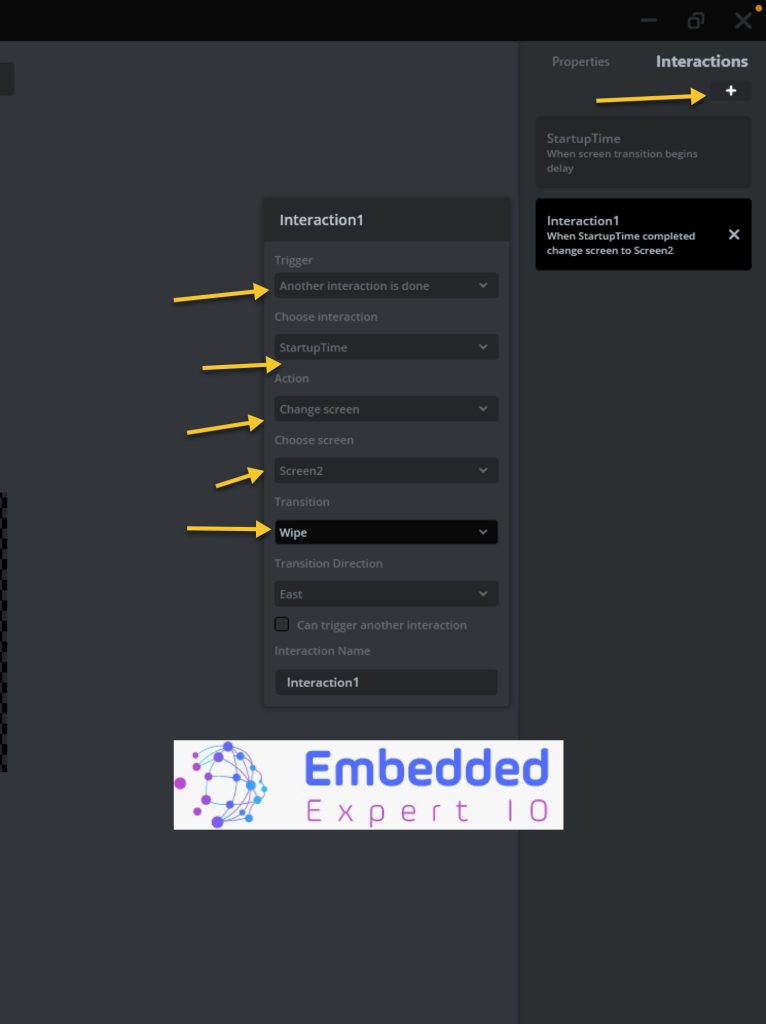
The interaction has the following parameters:
Trigger: Another interaction is done.
Choose Interaction: StartupTime (the same name as the first) interaction.
Action: Change Screen,
Choose screen: Screen2.
Transition: Wipe or whatever you like from the given options.
Select the direction as you want.
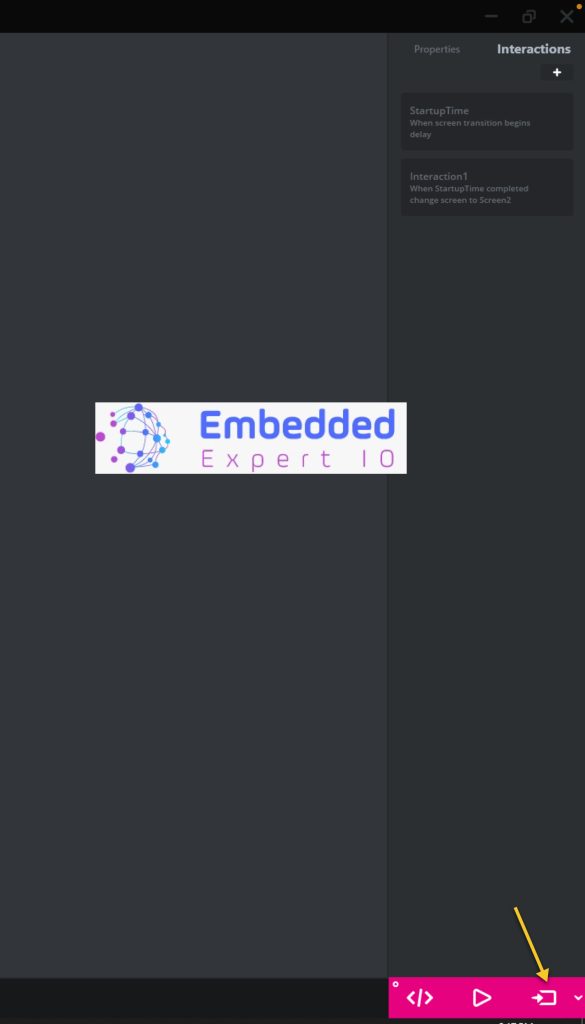
Save the project and run it on your board as following (Or press on F3):
2. Results:
You should see the following on your board:
Happy coding or should I say happy UI 😉
Add Comment