
In part 2 of the touchGFX guide, we shall control the on board LED on STM32H735GI-DK using the touch screen. This will provide a method to send the data from UI to MCU to do something specific.
In this guide, we shall cover the following:
- Creating the UI.
- Developing the firmware.
- Results.
1. Creating the UI:
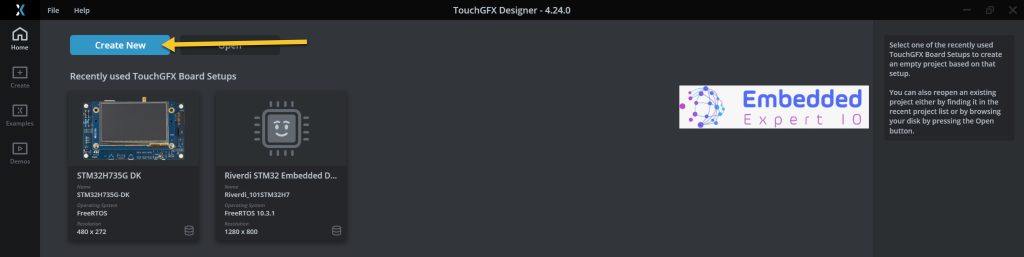
Open TouchGFX designer and create new project as following:
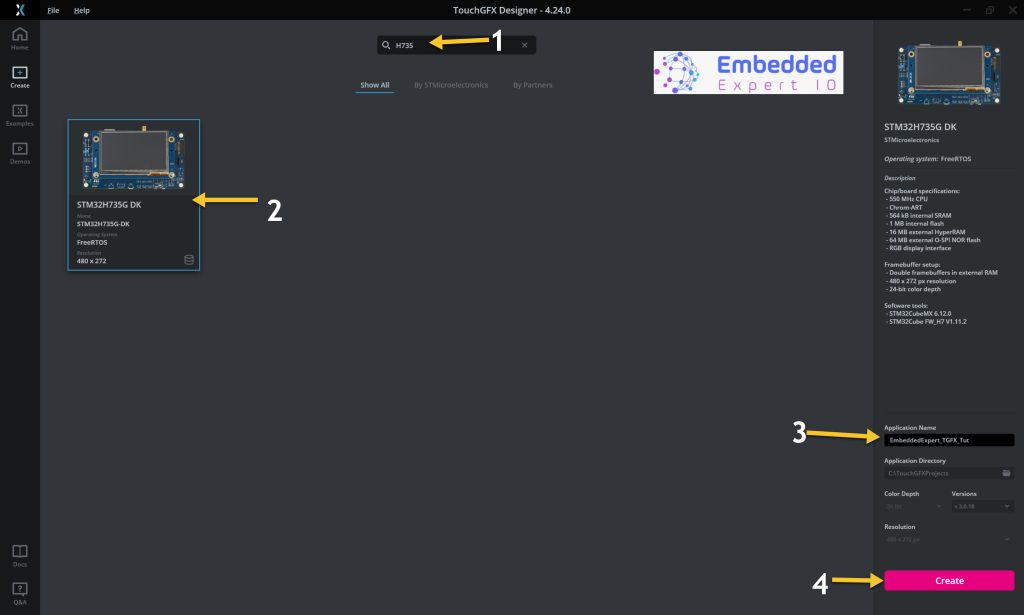
Then select your board, give the project a name and click on create.
When the project is created, add a toggle button as following:
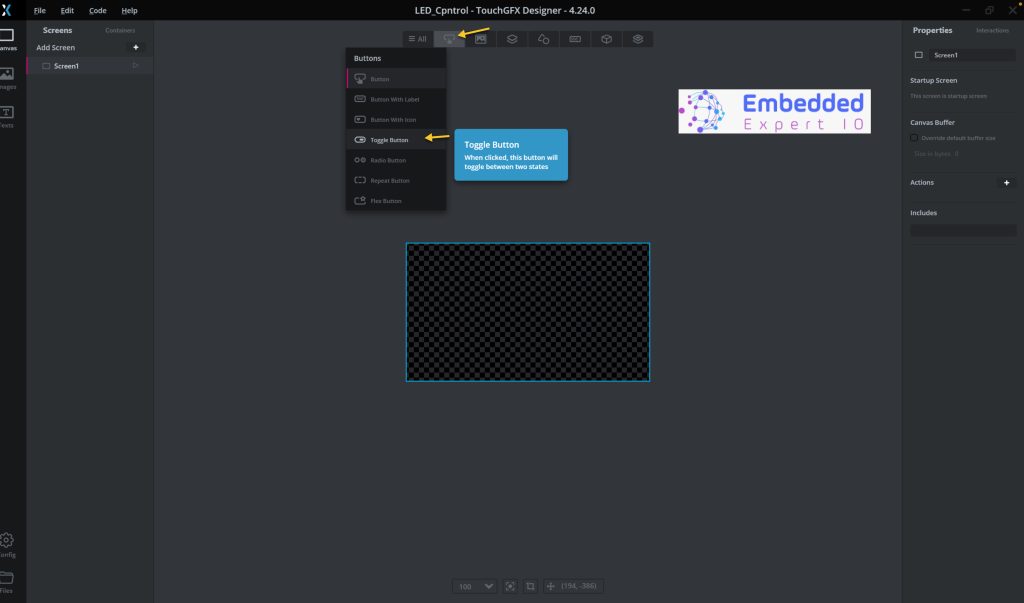
Next, chose the appropriate button depending on your choice as following:

Next, we need to add the interaction as following:
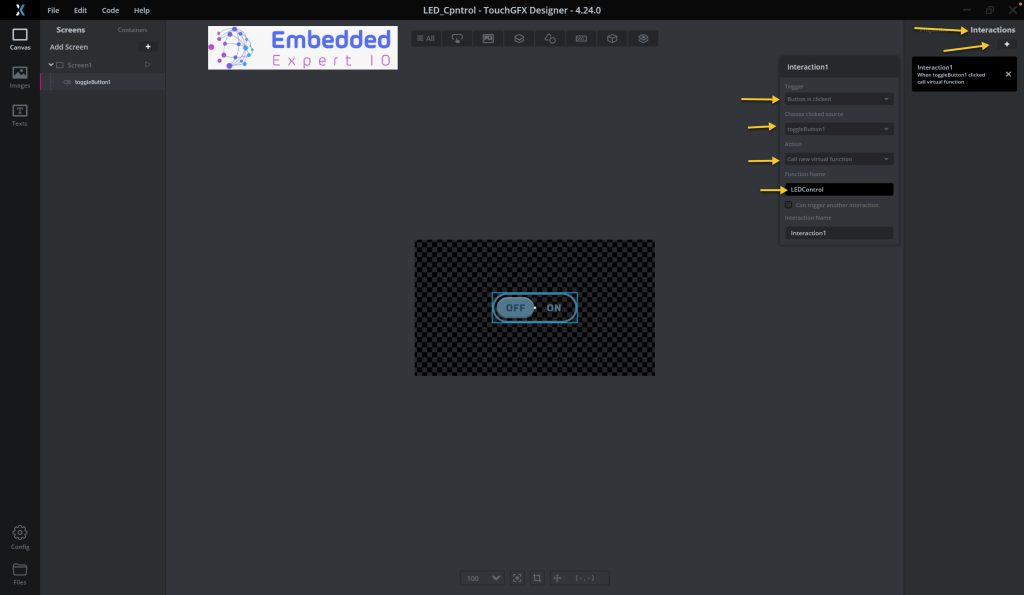
Create new interaction with the following parameters:
- Trigger: When a button is click.
- Source: ToggleButton1.
- Action: Call new virtual function.
- Function name: LEDControl (You can use different name if you want).
Next, click on generate code as following:
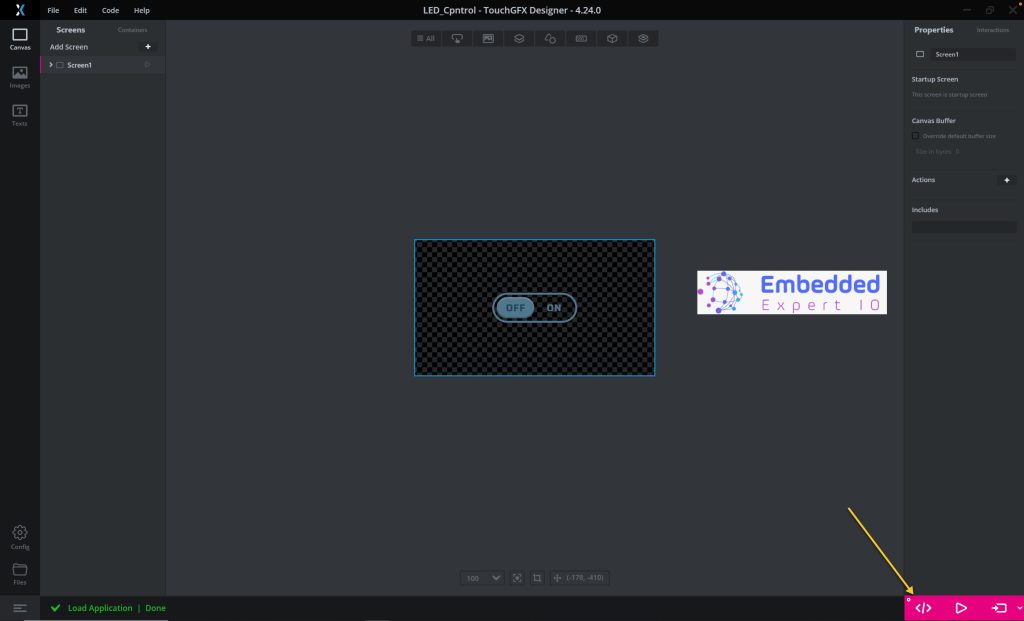
Thats all for the TouchGFX part.
2. Firmware Development:
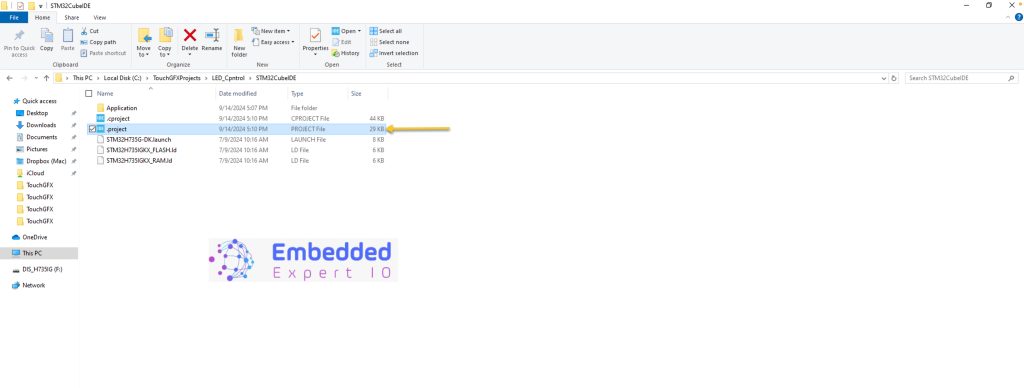
Next, we shall go to the following folder:
ProjectLocation\ProjectName\STM32CubeIDE
Open the .project file and this will open the project within STM32CubeIDE as following:
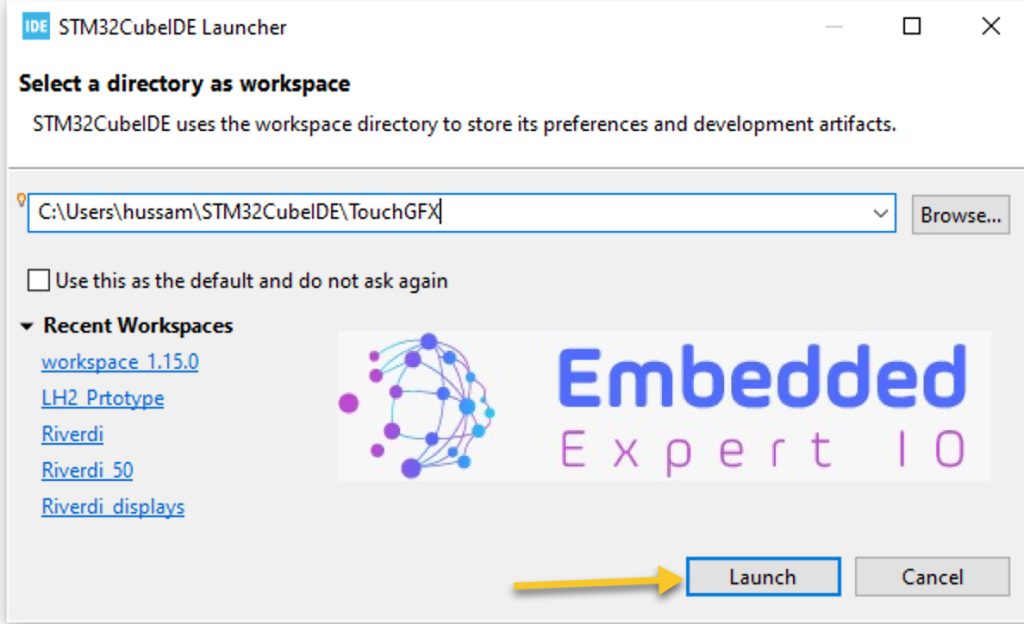
Next, select the work space and click on Launch as following:
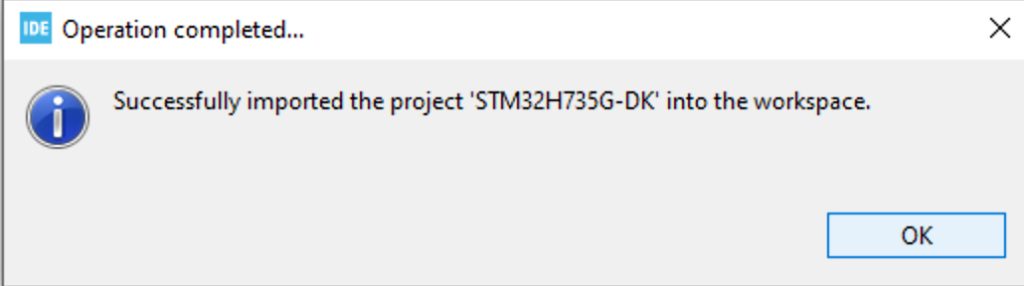
Wait until this window appears:
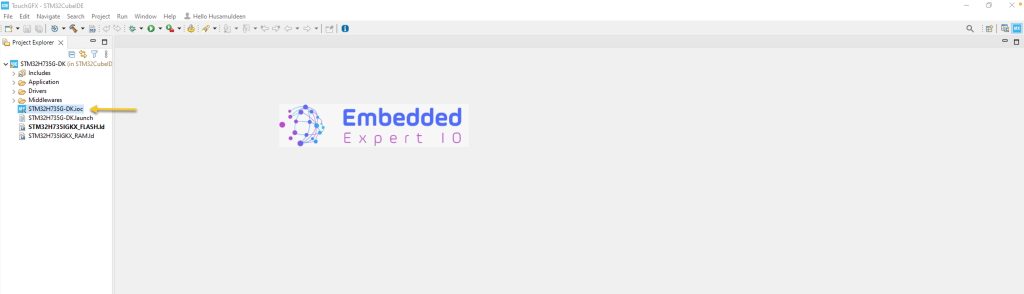
From Project Explorer, open STM32H735G-DK.ioc as following:
Before we configure the pins, we need to know which pins are connected to the onboards LED of STM32H735G-DK.
From the schematic of this board, we can find the following:
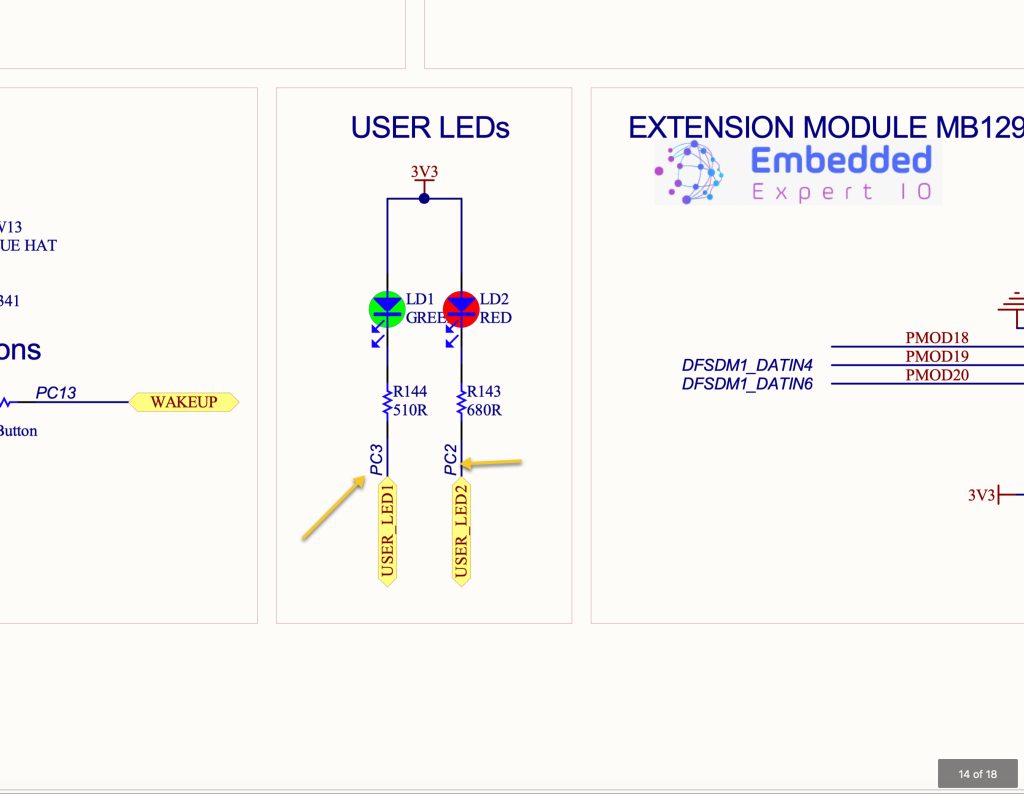
The green LED is connected to PC3 and red LED is connected to PC2. In this guide, we shall use the green LED which is connected to PC3.
We shall configure PC3 as output as following:
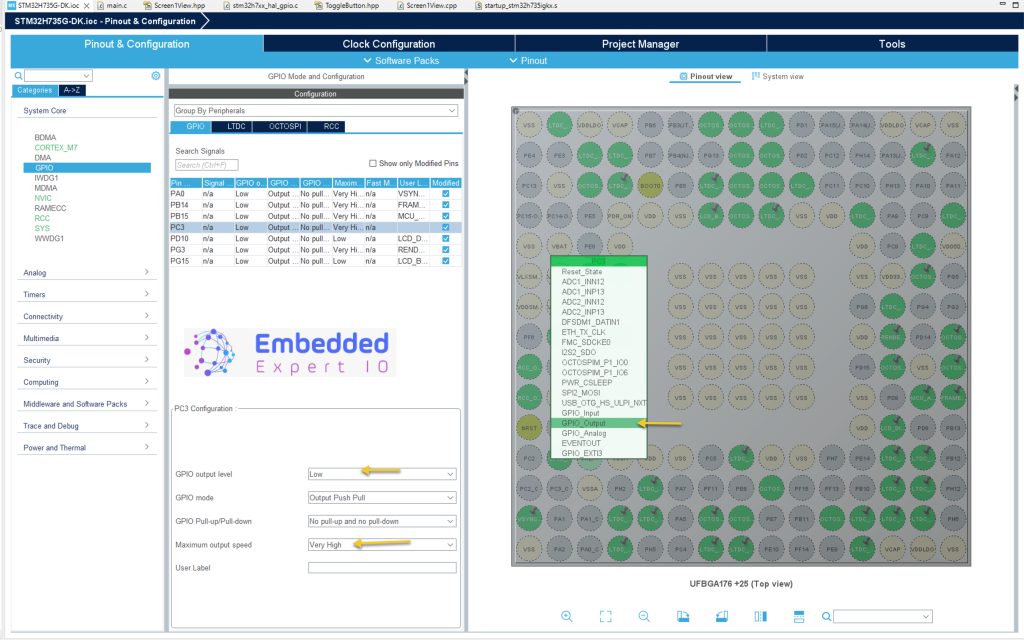
Since the cathode of the LED is connected to the pin, at the startup, we need to set it to high, after configuring the pin, set the level to high and the speed as very high.
Click on generate the code as following:
Next, open the following source file from project explorer as following:
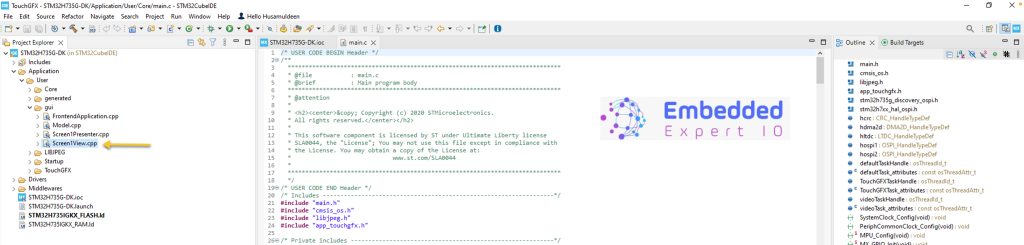
After opening the source file, open the screen1view header file as following:
Within the public section of the header file, add the following the virtual function
virtual void LEDControl();
Note: the function name should be the same as the one in your TouchGFX interaction setup.
Save the header file (CubeIDE has a bug that won’t save the hpp file automatically nor during the building).
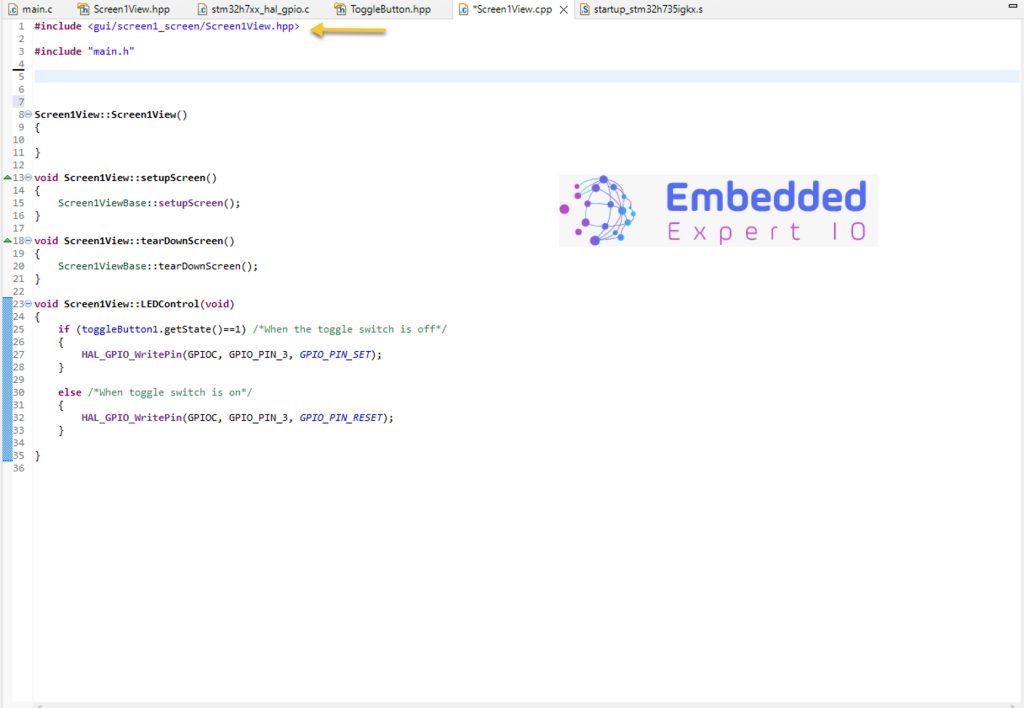
In the source file, include the following header file:
#include "main.h"
Add the following function:
void Screen1View::LEDControl(void)
{
	if (toggleButton1.getState()==1) /*When the toggle switch is off*/
	{
		HAL_GPIO_WritePin(GPIOC, GPIO_PIN_3, GPIO_PIN_SET);
	}

	else /*When toggle switch is on*/
	{
		HAL_GPIO_WritePin(GPIOC, GPIO_PIN_3, GPIO_PIN_RESET);
	}

}
This function will control the LED state according the state of the button.
The getState function will return the following:
- 1 when the button is at off state.
- 0 when the button is at on state.
Save the source file.
hat all for the guide.
Save the project, build it and run it on your STM32H735G-DK board.

3. Results:
Happy coding 😉
1 Comment
Hi,
I successfully ran “Getting Started with TouchGFX: LED Control”!!!
I did get a RTOS “USE_NEWLIB_REENTRANT” and TouchGFX not configured error. I set the appropriate setting for the RTOS error, which no longer there. I am not sure what TouchGFX setting are needed, but the gui worked. Of course, I had to identify a user LED and change the appropriate GPIO settings in cubemx and the “void Screen1View::LEDControl(void)” function.
Thanks for the really nice post,
John Gaffke
Add Comment