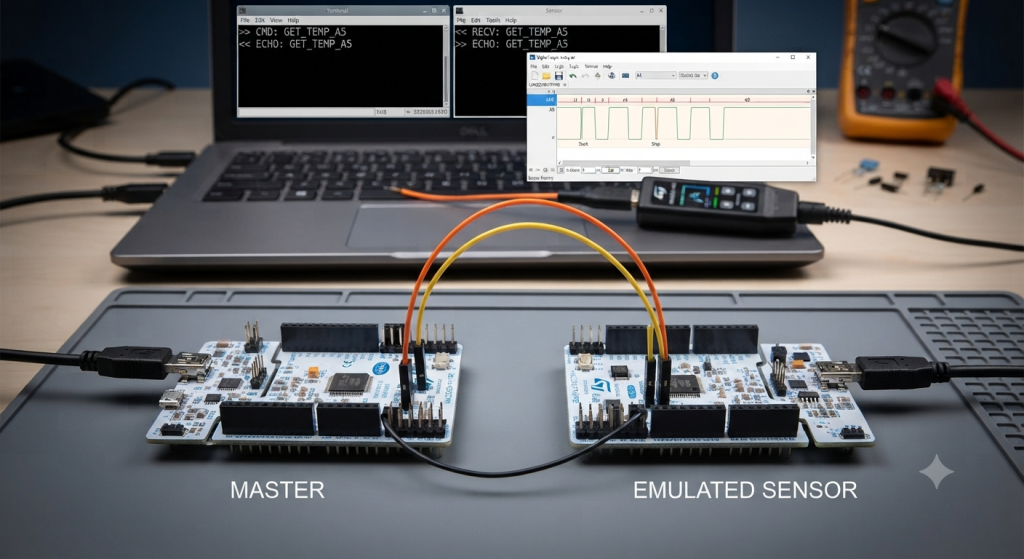
Establishing reliable bidirectional communication is the foundational step in validating the sensor emulation framework, ensuring that the master device and the emulated sensor can exchange data packets effectively. By implementing an echo protocol where the emulator mirrors the received master request, you can verify link integrity and confirm that the timing and data formatting align perfectly with the target sensor’s specifications.
In this guide, we shall cover the following:
- Introduction.
- Emulated sensor firmware development.
- Master MCU firmware development.
- Results.
1. Introduction:
The transition from individual component configuration to functional, bidirectional communication represents a critical milestone in sensor emulation development. At this stage, we move beyond static setup to create a dynamic handshake between the Master controller and the Emulated Sensor. The implementation of an echo protocol acts as the primary validation mechanism for the entire architecture; by forcing the emulator to receive a command from the Master and immediately return that data to the origin, we create a closed-loop system. This process is instrumental in verifying that the UART parameters—such as baud rate, parity, and timing constraints—are perfectly synchronized across both STM32F4 Nucleo-64 boards.
The Significance of the Echo Protocol
The “echo” approach is favored in embedded systems design because it provides an immediate, low-latency acknowledgment of system health and connectivity without requiring complex application-layer state machines. For an emulation environment, this design serves several strategic purposes:
- Link Integrity Verification: It allows for the instantaneous confirmation of physical electrical connectivity. If the Master sends a byte and does not receive the expected mirror, it indicates a failure in the TX/RX physical path or a mismatch in the UART frame configuration.
- Latency Benchmarking: By measuring the time interval between the transmission of a command and the receipt of the echo, developers can precisely determine the total latency of the communication channel. This is essential for ensuring that the emulation remains within the timing budgets required by the target application’s real-time constraints.
- Protocol Synchronization: The echo mechanism acts as a foundation for more sophisticated master-slave communication. Once a simple echo is reliable, it becomes trivial to transition to more complex packet structures, such as command-response pairs involving headers, data payloads, and checksums (like CRC-16 or parity checks).
- Deterministic Debugging: Because the emulator is programmed to respond predictably to specific inputs, any deviation in the echoed data stream provides a clear indicator of where the communication flow is being interrupted—whether it is at the interrupt service routine (ISR) entry, buffer overflow, or data processing stage.
By establishing this reliable feedback loop, we ensure that the communication infrastructure is robust before introducing the logic that simulates specific, high-fidelity sensor behavior. This ensures that when we eventually stream complex data profiles, any errors encountered are identified as application-level issues rather than fundamental problems with the underlying UART link.
2. Emulated Sensor Firmware Development:
We start off with emulated sensor project.
Open the project and then open main.c
In main.c, in user code begin PV, declare the following:
#define BufferSize 50
uint8_t RxBuffer[BufferSize];
This is an array to hold the received data from the master MCU. This will allow us to receive the incoming bytes using DMA which will free the CPU.
Next, in user code begin 0, declare the following function:
void HAL_UARTEx_RxEventCallback(UART_HandleTypeDef *huart, uint16_t Size)

{

	if(huart->Instance == USART1)
	{
		HAL_UART_Transmit(&huart1, RxBuffer, Size, 100);
		HAL_UARTEx_ReceiveToIdle_DMA(&huart1, RxBuffer, BufferSize);

	}

}
This function allows the user to use IDLE line to receive unknown length of data but limited to the BufferSize (50 character in this case).
Once the characters has been received or IDLE has been detected, the function shall be called.
Here, we are just sending back the characters and restart the operation of the uart.
In user code begin 2 in main function, declare start the reception with IDLE in DMA mode as follows:
HAL_UARTEx_ReceiveToIdle_DMA(&huart1, RxBuffer, BufferSize);
Thats all for the emulated sensor part.
Save, build the project and run it as follows:

3. Master MCU Firmware Development:
Open main.c file of the master MCU.
In user code begin PV, declare the following variables:
#define BufferSize 50
uint8_t RxBuffer[BufferSize];

uint8_t TxBuffer[BufferSize];

uint8_t counter;
- RxBuffer holds the received data.
- TxBuffer holds the data to be transferred.
- Counter variable when sending the string.
In user code begin 0, declare the following function:
void HAL_UARTEx_RxEventCallback(UART_HandleTypeDef *huart, uint16_t Size)

{

	if(huart->Instance == USART1)
	{
		HAL_UART_Transmit(&huart2, RxBuffer, Size,10);
		HAL_UARTEx_ReceiveToIdle_DMA(&huart1, RxBuffer, BufferSize);

	}

}
It is similar to emulated sensor part, the difference that we are sending the received data to USART2 rather that USART1.
Next, in user code begin 2 in main function, start the reception process in DMA with IDLE line as follows:
HAL_UARTEx_ReceiveToIdle_DMA(&huart1, RxBuffer, BufferSize);
Next, in user code begin 3 in while 1 loop:
uint16_t len;
len=sprintf(TxBuffer,"Counter value to be send is %d\r\n",counter);
HAL_UART_Transmit(&huart2,TxBuffer,len,100);

len=sprintf(TxBuffer,"Counter value = %d\r\n",counter);
HAL_UART_Transmit(&huart1,TxBuffer,len,100);
counter++;
HAL_Delay(500);
This will send two different strings.
Thats all for the master MCU project
Save, build the project and run it as follows:

You many download the project from here:
4. Results:
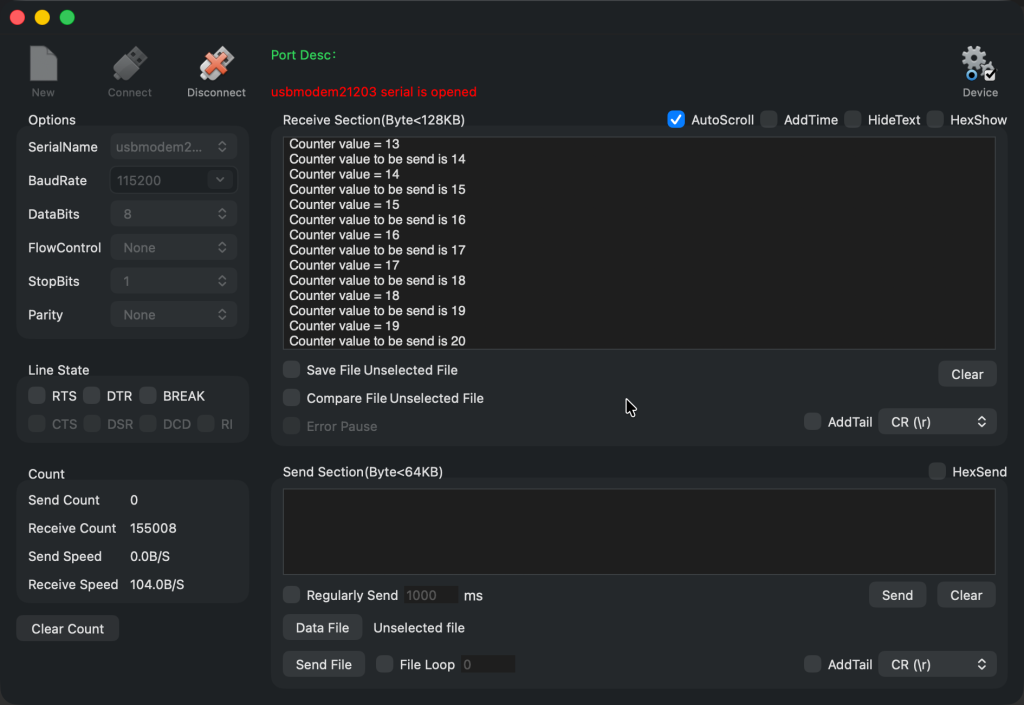
Open your favourite terminal application, set the buadrate to 115200 and you should get the following:
In next part, we shall start sending some configuration data from main mcu to emulated sensor.
Staty tuned.
Happy coding 😉

Add Comment