In this guide, we shall see how to compile the micropython core for STM32F411 Nucleo-64 and burn the compiled version to the board.
In this guide, we shall cover the following:
- Compiling the micropython core.
- Installing STM32CubeProg.
- Flashing The firmware.
- Testing the micropython.
1. Compiling the Micropython:
Note: Here we are assume that your linux has been installed and running perfectly without any issues.
We start by opening terminal window on your linux machine (Linux Minet 22 in this guide):
First create folder with name of uPython as following:
mkdir uPython
This will create new folder with name of uPython.
Navigate to the uPython folder as following:
cd uPython
Next, ensure all dependencies are up to date using the following two commands:
sudo apt update
After the command has been completed, run the following command:
sudo apt install build-essential libncurses5-dev libffi-dev \
    libssl-dev git cmake python3 python3-pip python3-venv
After the command has completed, we shall download the micropython core as following:
git clone --recurse-submodules https://github.com/micropython/micropython.git
Next navigate the downloaded micro python folder as following:
cd micropython
Next, navigate to mpy-cross folder as following:
cd mpy-cross
Build the micropython cross compiler as following:
make -j$(nproc)
This will build the compiler and it will take few minutes (depending on your machine).
Navigate back to the micropython folder as following:
cd ..
Next, build the micropython for STM32F411 Nucleo-64 as following:
First, navigate to the STM32 port as following:
cd ports/stm32
Build the micropython core for STM32 as following:
make submodules
Next, build the micropython for the board:
make BOARD=NUCLEO_F411RE -j$(nproc)
This will generate the hex file.
2. Installing STM32CubeProg:
After the build has been completed, go this website to download STM32CubeProg.
After the download which is by default in download folder, rename it to something easy like STM32CubeProg:
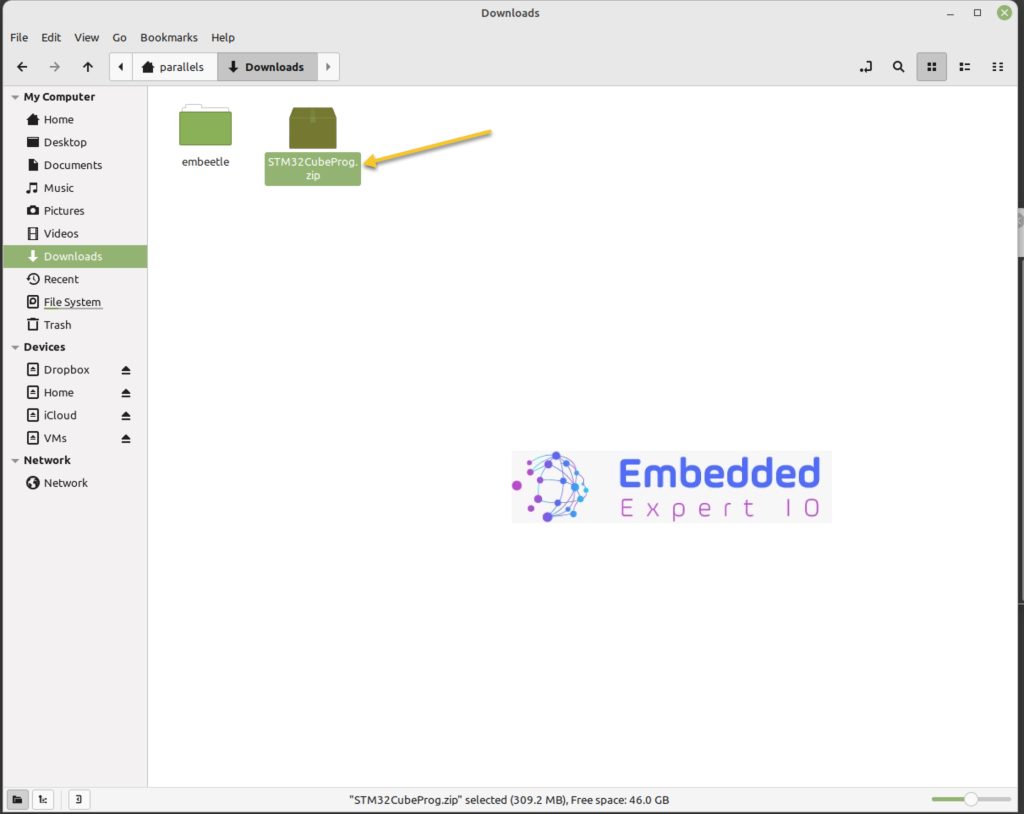
After the rename. Right click and extract the zip folder
Open the terminal again and navigate to downloads folder as following:
cd Downloads
Then navigate the folder where STM32CubeProg has been extracted as following:
cd STM32CubeProg
Next, we shall make the installer executable as following:
chmod +x SetupSTM32CubeProgrammer-*.linux
Replace the start with the version you downloaded.
Run the installer as following:
./SetupSTM32CubeProgrammer-*.linux
Follow the instructions in the GUI:
Once the program has been installed, added it to the path as following:
echo 'export PATH=$PATH:/opt/STMicroelectronics/STM32CubeProgrammer/bin' >> ~/.bashrc

source ~/.bashrc
Now, STM32CubeProg has been installed.
3. Flashing the Micropython Firmware:
Open STM32CubeProg and you should see the following:
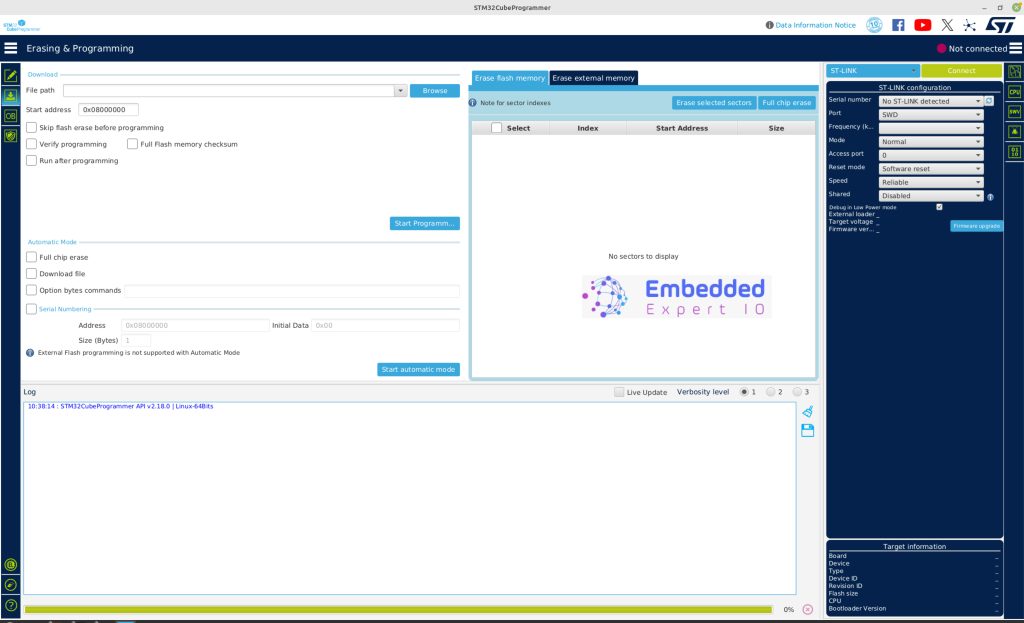
Next, connect your Nucloe board and click on connect connect from right side as following:

After the connection has been stablished, open erasing and programming from left side as set it as following:
Click on brows and head to this location:
/uPython/micropython/ports/stm32
Select the firmware.elf
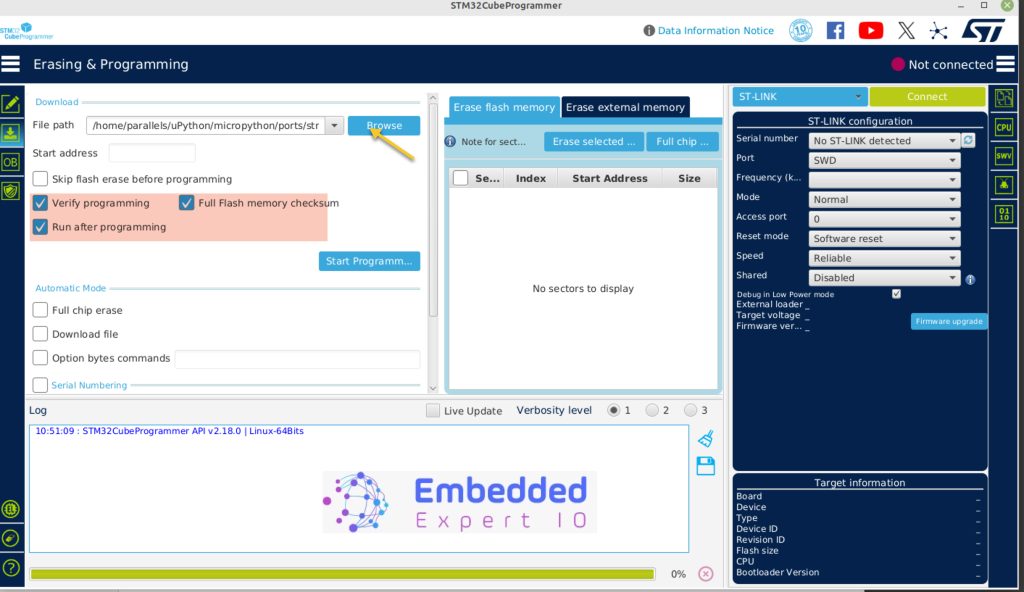
Click on start programming.
This will flash the Nucleo board with latest version.
4. Testing Micropython:
Open your favourite Serial terminal. Once it has been opened, reset the Nucleo board using the black push button and you should get the following:

Type the following:
help()
And you should see help.
Now, you are ready for your Micropython journey.
Happy coding 😉
Add Comment