
In the third part of the TouchGFX, we shall control the LED brightness on board of STM32H735G-DK using the touch screen.
By introducing this method, you can use this method to control brightness or anything else. You are limited by your imagination.
In this guide, we shall cover the following:
- Creating the UI.
- Developing the firmware.
- Results.
1. Creating the UI:
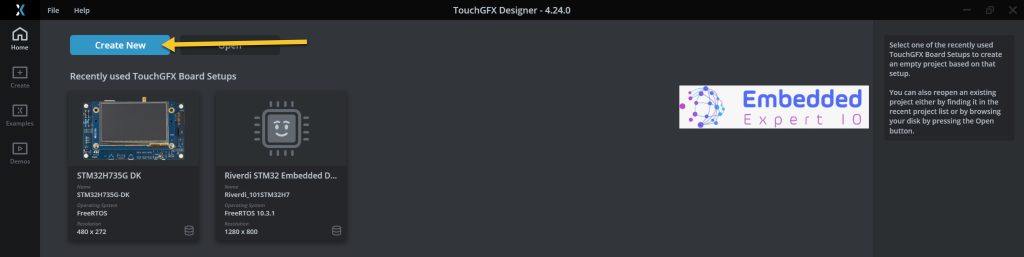
Open TouchGFX designer and create new project as following:
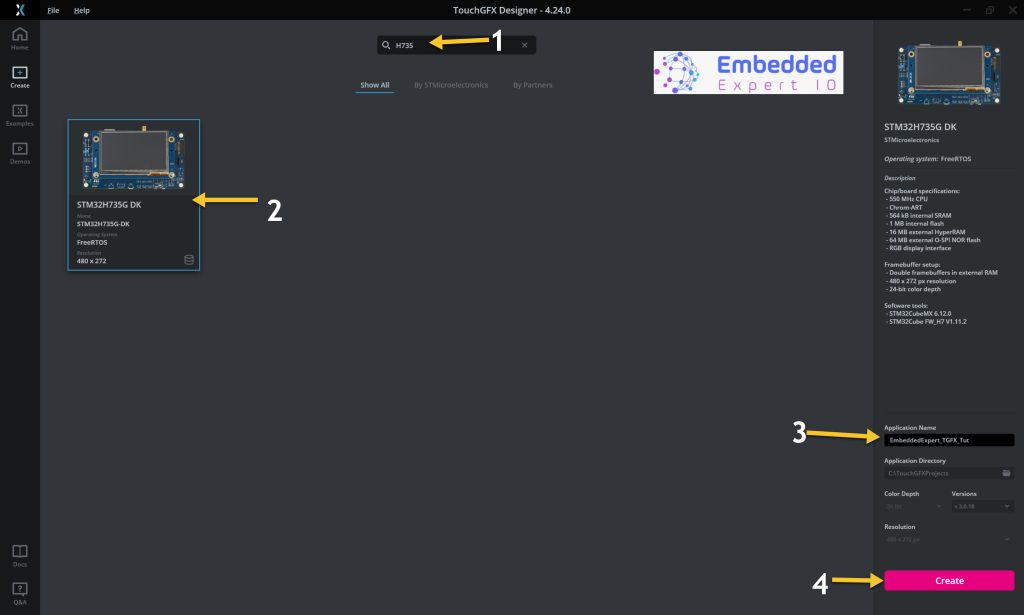
Then select your board, give the project a name and click on create.
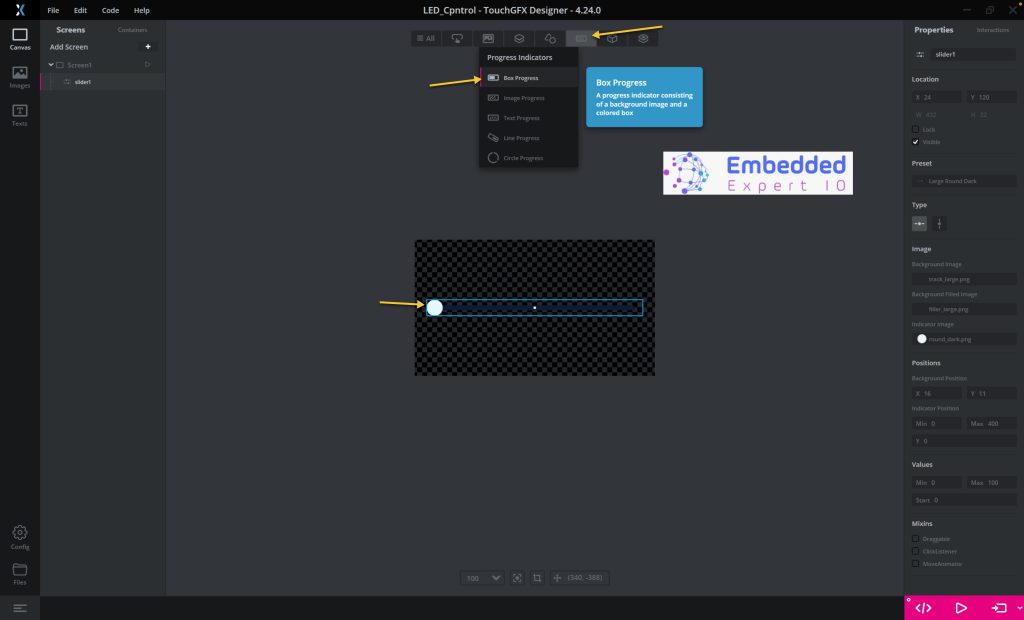
When the project is created, add a slider as following:
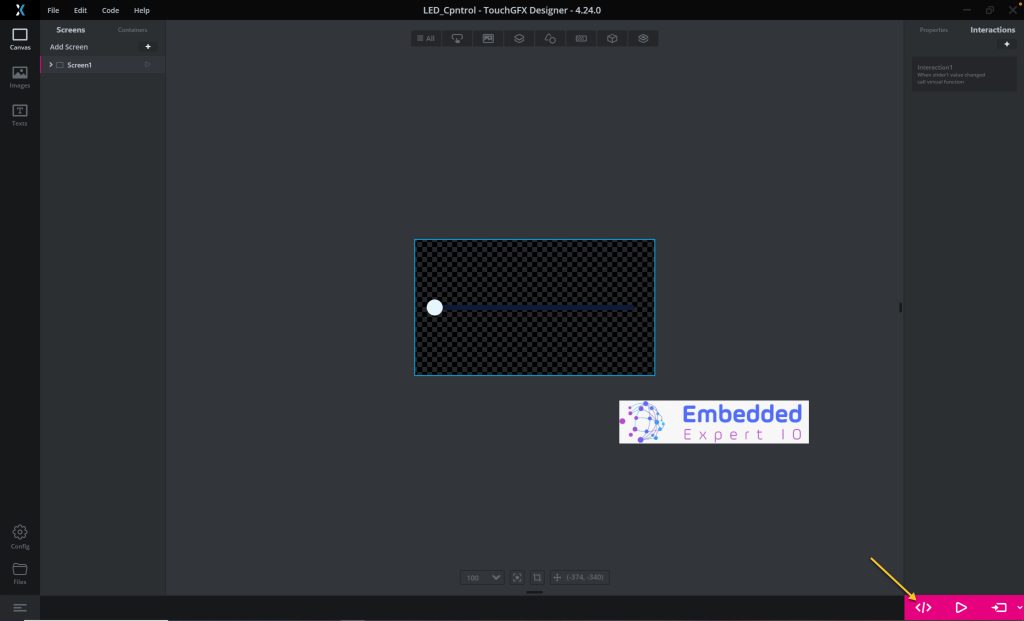
Next, we shall add interaction as following:

- Trigger: Slider value changed.
- Slider: Slider1.
- Action: Call new virtual function.
- Function name: UpdateDutyCycle
Thats all for the UI, click on the Generate Code as following:
2. Firmware Development:
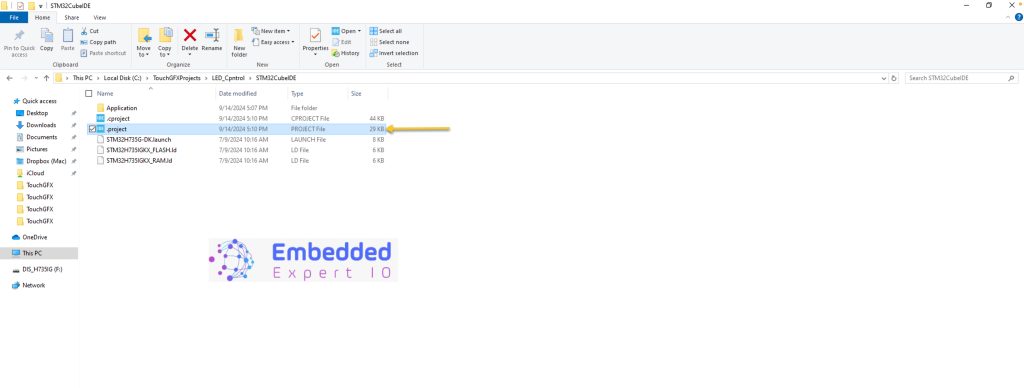
Next, we shall go to the following folder:
ProjectLocation\ProjectName\STM32CubeIDE
Open the .project file and this will open the project within STM32CubeIDE as following:
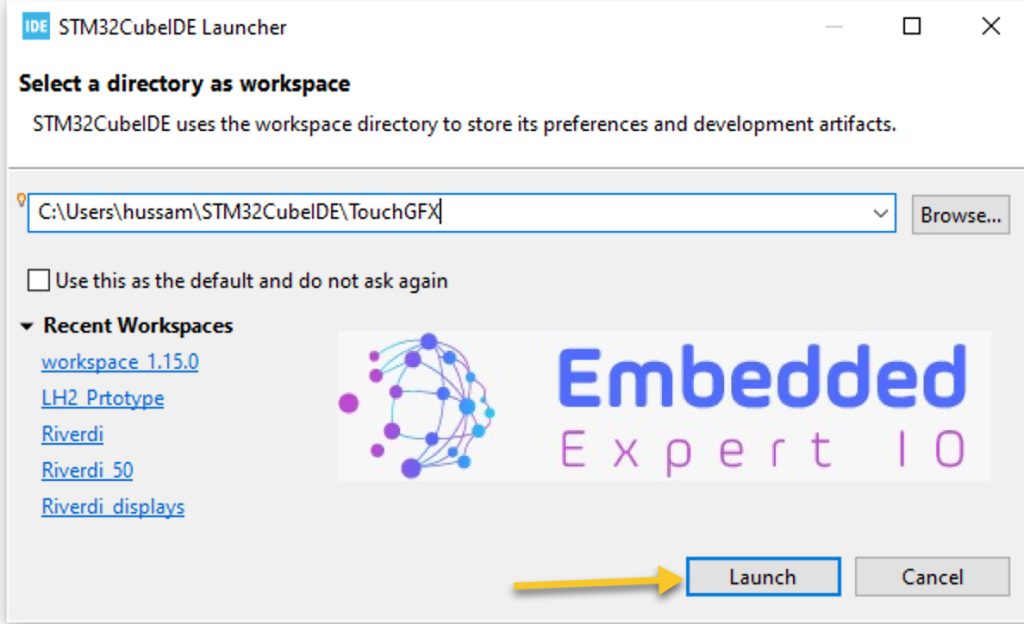
Next, select the work space and click on Launch as following:
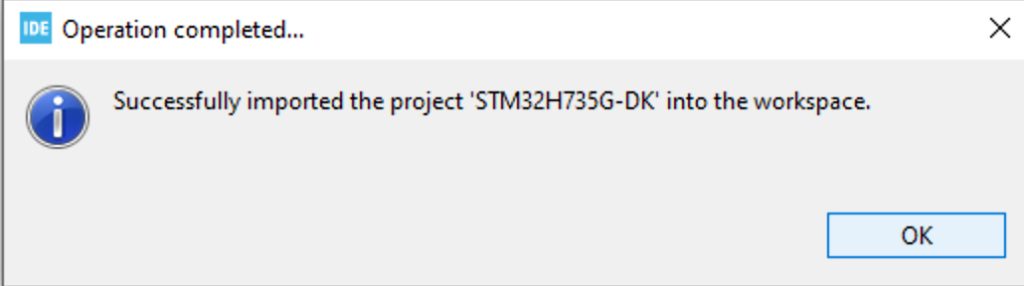
Wait until this window appears:
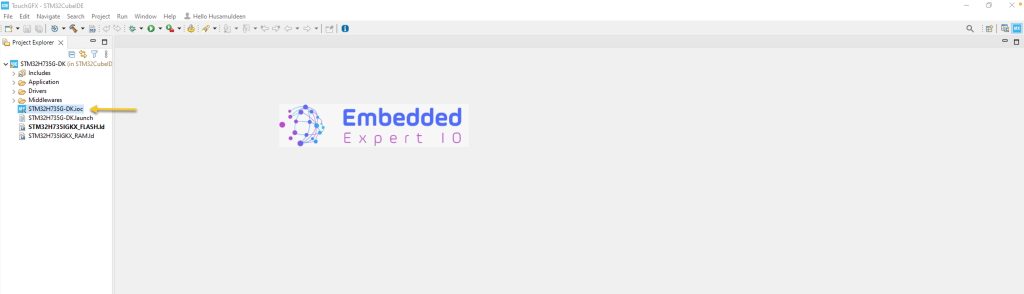
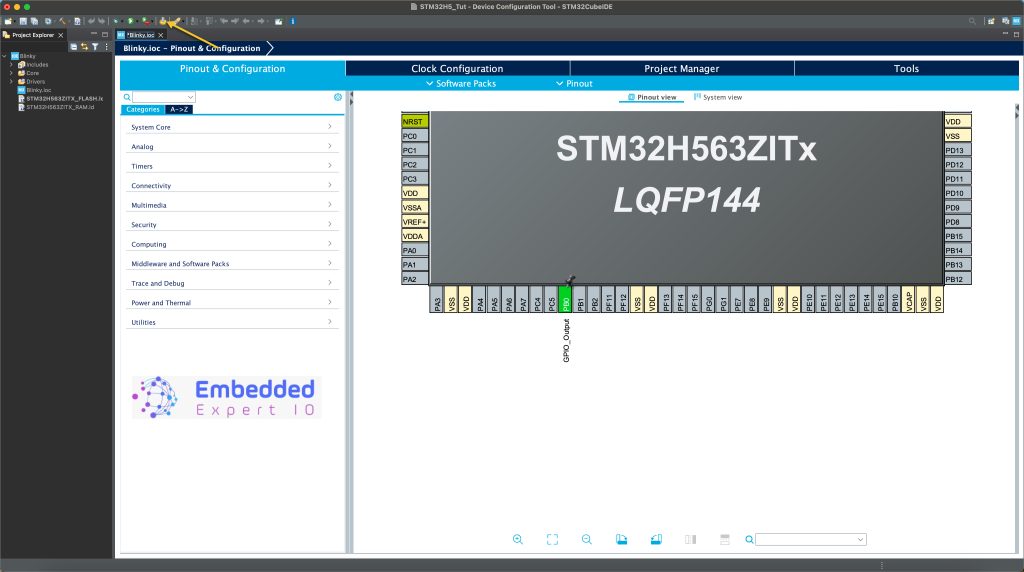
From Project Explorer, open STM32H735G-DK.ioc as following:
From the schematic of STM32H735G-DK we can find that LD8 which is connected to PF7 has the ability to be controlled by PWM as following:
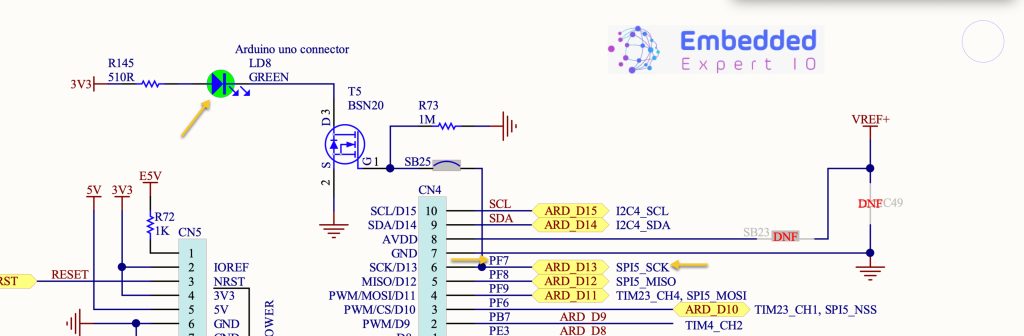
Configure the PF7 with TIM17_CH1 as following:
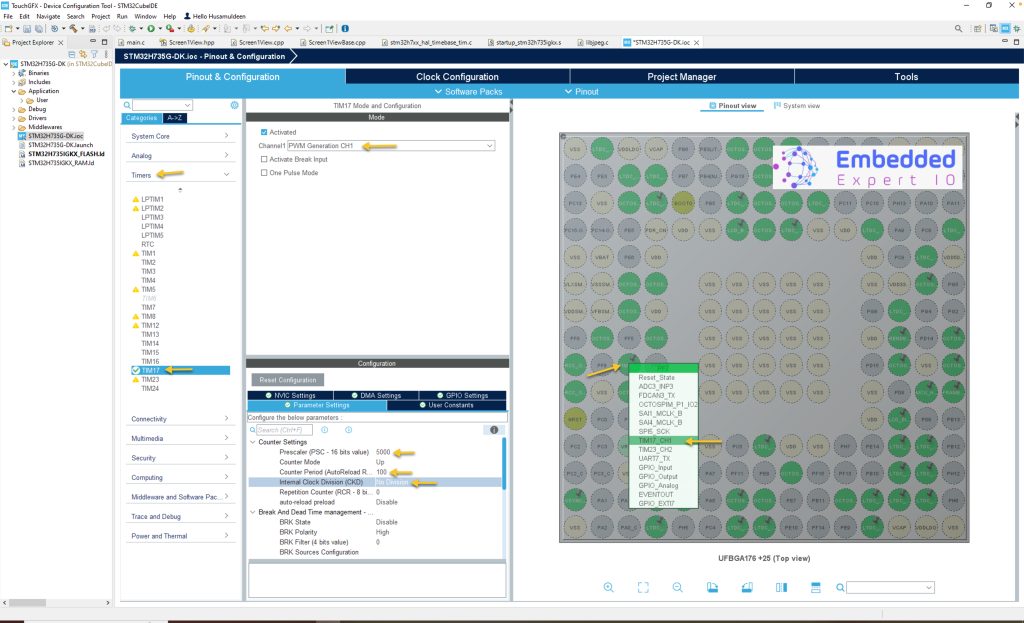
For the timer configure, set the PSC to 5000 and the ARR to 100.
Click on generate the code as following:
When the project finished generation, in main.c in user code begin 2, add the following the line to start the PWM generation as following:
HAL_TIM_PWM_Start(&htim17, TIM_CHANNEL_1);
Next, open the following source file from project explorer as following:
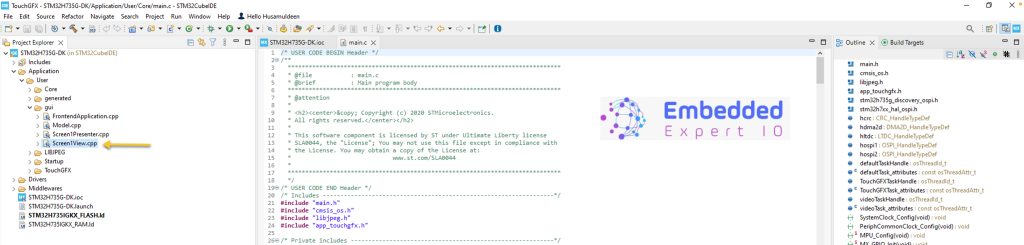
After opening the source file, open the screen1view header file as following:
Within the public section of the header file, add the following the virtual function:
virtual void UpdateDutyCycle(int value);
Note: the function name should be the same as the one in your TouchGFX interaction setup.
Save the header file (CubeIDE has a bug that won’t save the hpp file automatically nor during the building).
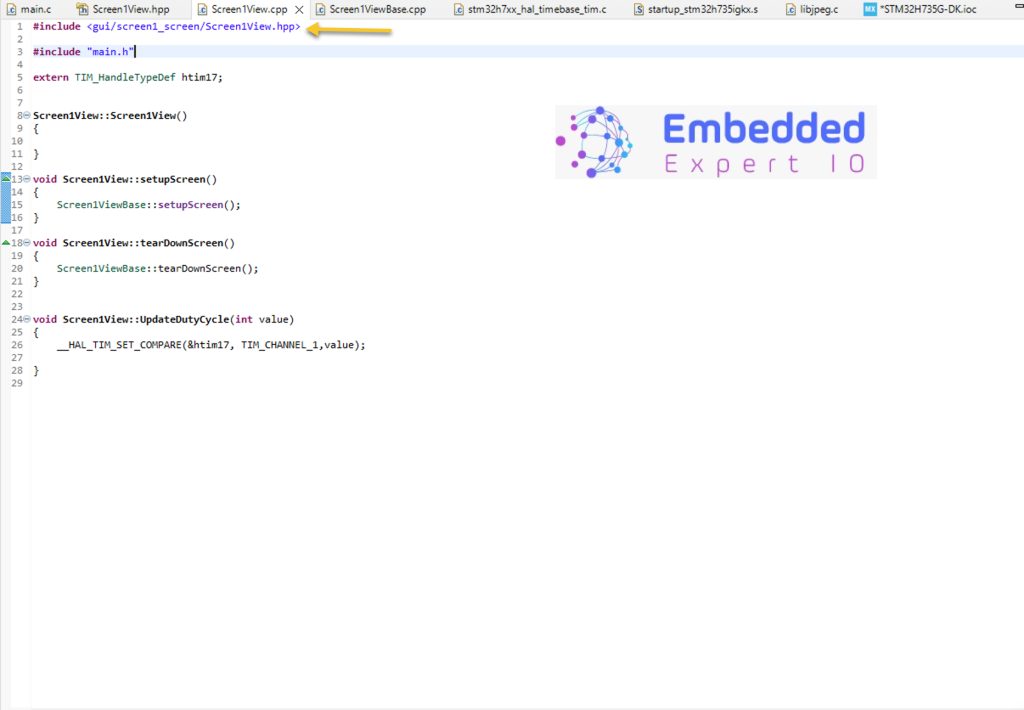
In the source file, include the following header file:
#include "main.h"
Declare the timer handle as extern as following:
extern TIM_HandleTypeDef htim17;
At the end of the source file, add the following function:
void Screen1View::UpdateDutyCycle(int value)
{
	__HAL_TIM_SET_COMPARE(&htim17, TIM_CHANNEL_1,value);

}
When the slider values is changed, this function shall be called and update the duty cycle of the PWM and hence, the brightness of the LED.
Save the source file.
hat all for the guide.
Save the project, build it and run it on your STM32H735G-DK board.

3. Results:
Happy coding 😉
Add Comment