
In the previous guide (here), we took a look how to control two LED using touch toggle switches. In this guide, we shall see how to control LEDs brightness using sliders.
In this guide, we shall cover the following:
- LED PWM driver code.
- Nextion code.
- STM32F4 code.
- Demo.
1. LED PWM Driver Code.
The LED PWM driver is already covered (here). However, with minor modification which allows us to set the duty cycle for each LED independently.
LED_PWM.c file
#include "LED_PWM.h"

void LED_PWM_init()
	{
		RCC->AHB1ENR|=RCC_AHB1ENR_GPIOAEN;
		GPIOA->MODER|=(1<<1)|(1<<3);
		GPIOA->AFR[0]|=(1<<0)|(1<<4);
		RCC->APB1ENR|=RCC_APB1ENR_TIM2EN; //enable clock access to tim2
		TIM2->PSC=0; //set prescaller to 0 (no divider)
		TIM2->ARR=100; //set the maximum count value
		TIM2->CNT=0; //seset the current count
		TIM2->CCMR1=(1<<5)|(1<<6)|(1<<13)|(1<<14); //configure the pins as PWM
		TIM2->CCER|=0x11; //enbale channel1 and channel2
		TIM2->CR1=1; //enable timer
	}

void Set_duty(LED_Number LED, uint8_t duty )
	{
	if(duty>100){duty=100;}
	switch (LED)
		{
			case LED0: TIM2->CCR1=duty; break;
			case LED1: TIM2->CCR2=duty; break;
			default: break;
		}
	}
LED_PWM.h
#ifndef LED_PWM_H_
#define LED_PWM_H_
#include "stdint.h"
#include "stm32f4xx.h"
typedef enum
{
	LED0=0,
	LED1=1

}LED_Number;
void LED_PWM_init();
void Set_duty(LED_Number LED, uint8_t duty );

#endif /* LED_PWM_H_ */
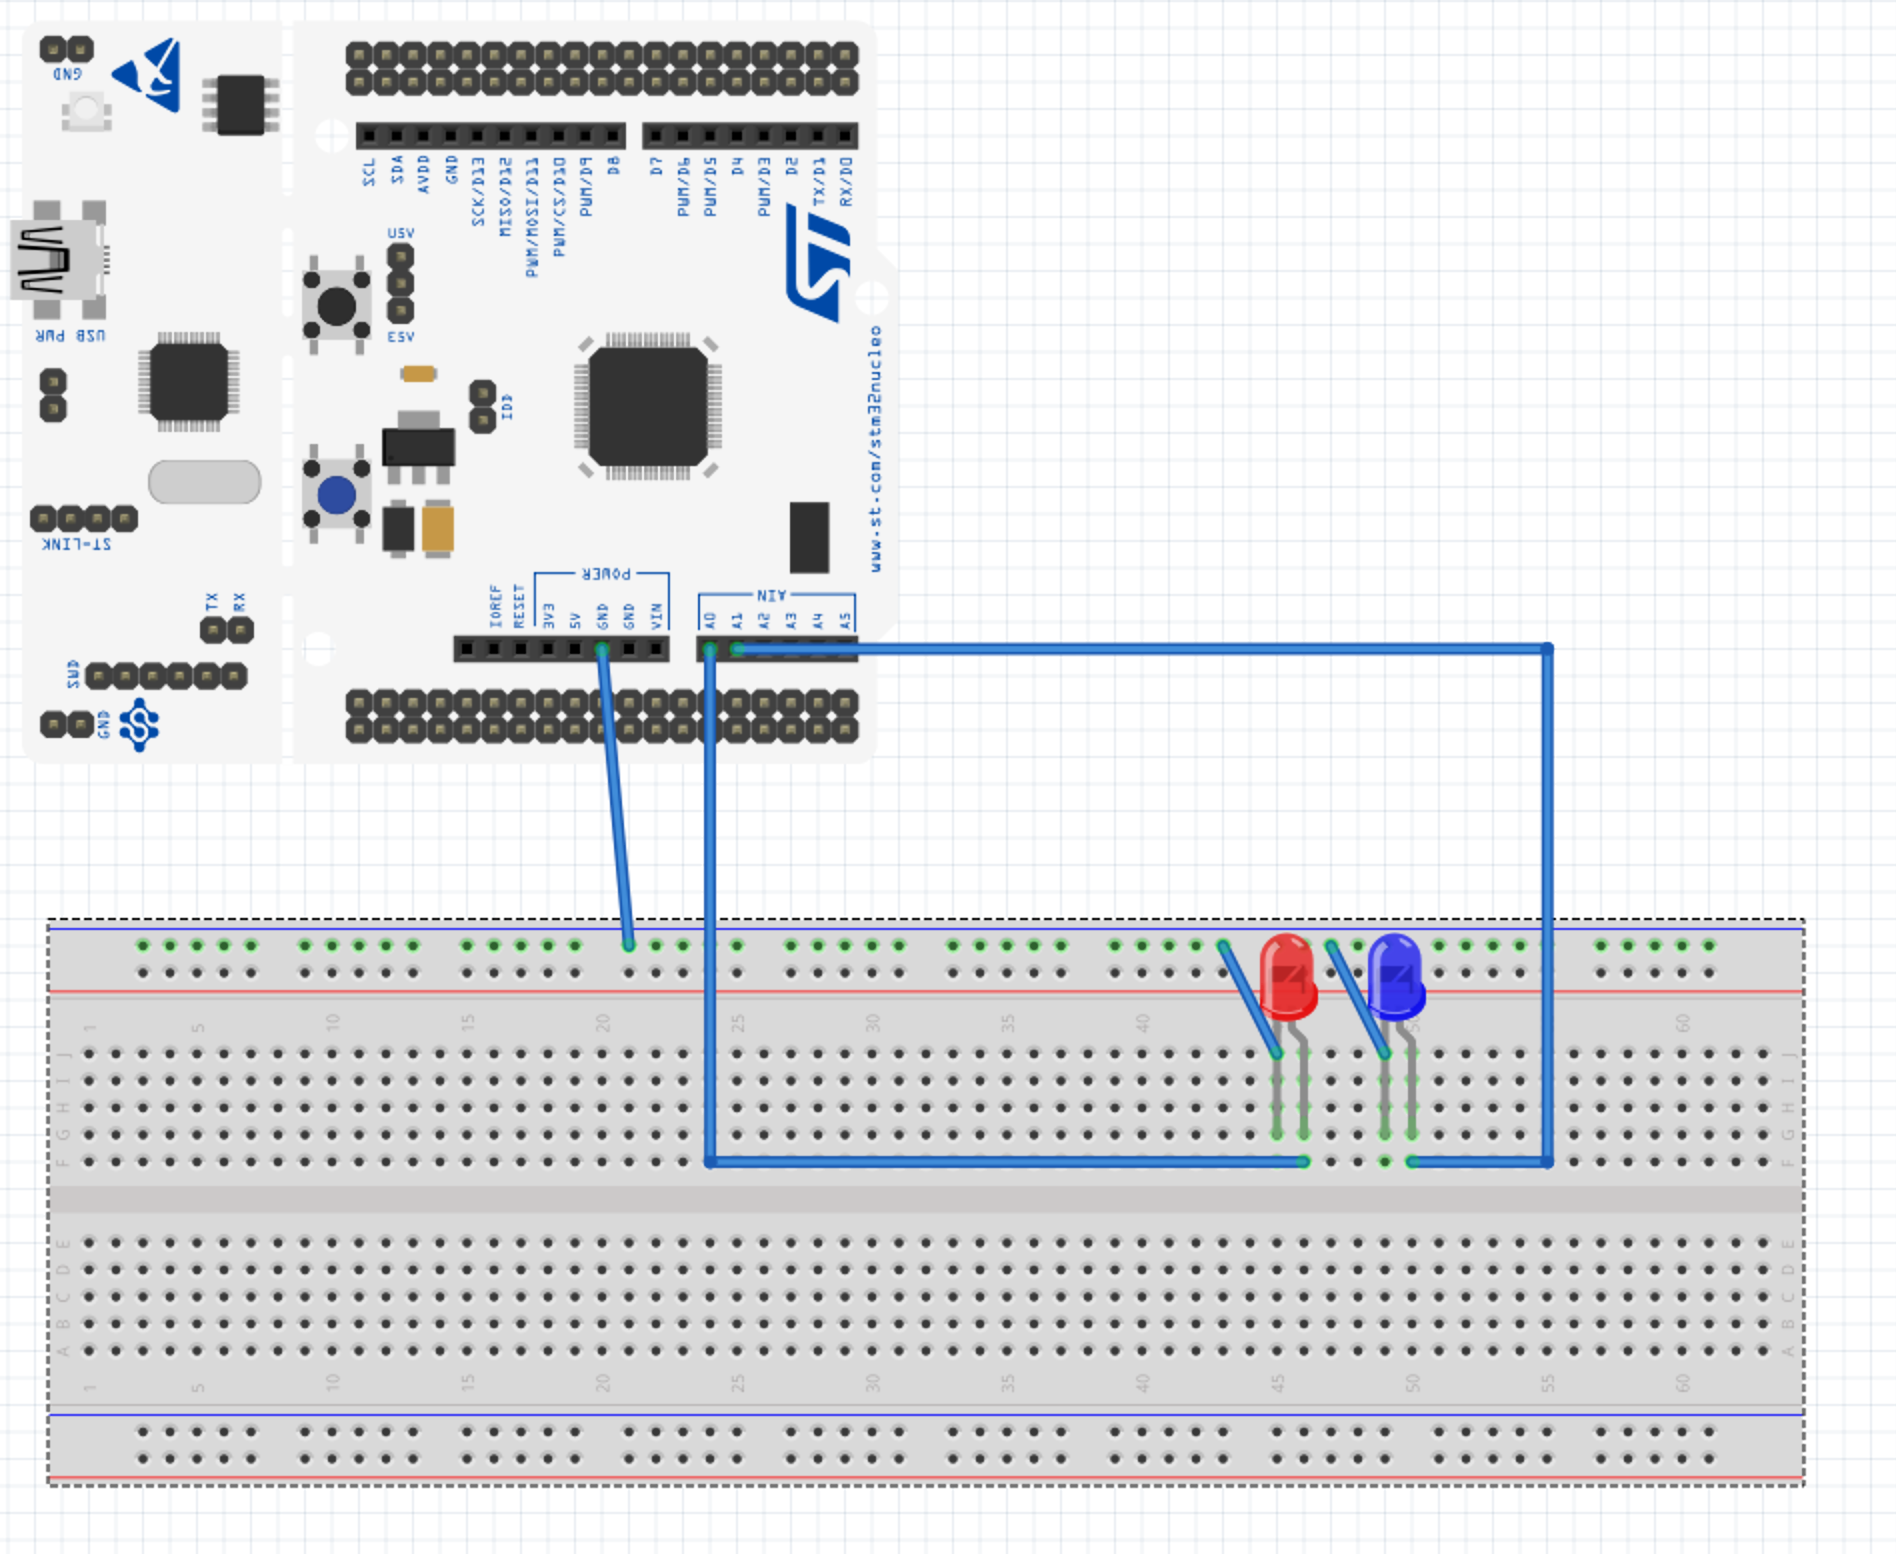
For connection, similar to LED control
2. Nextion Code:
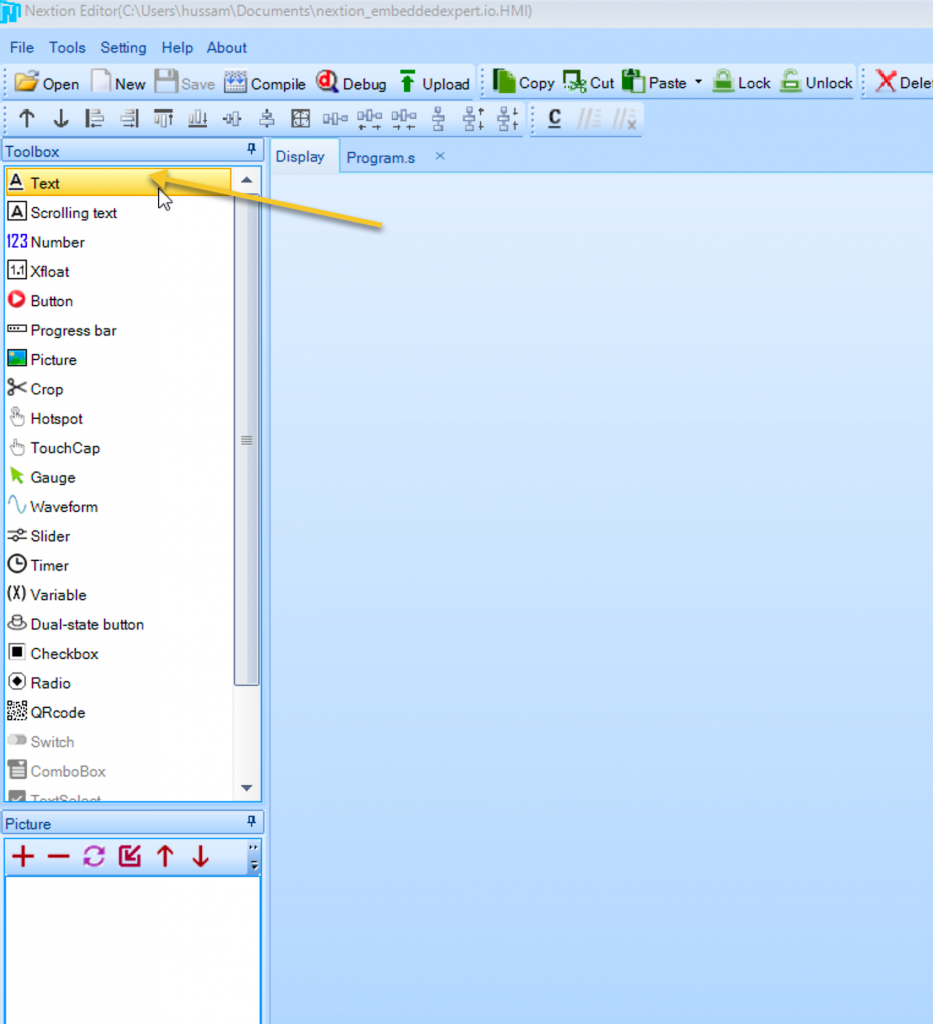
We start of by adding two text:
Resize the text size according to your screen.
From right side, attribute, note the objname and set txt_maxl to 30:
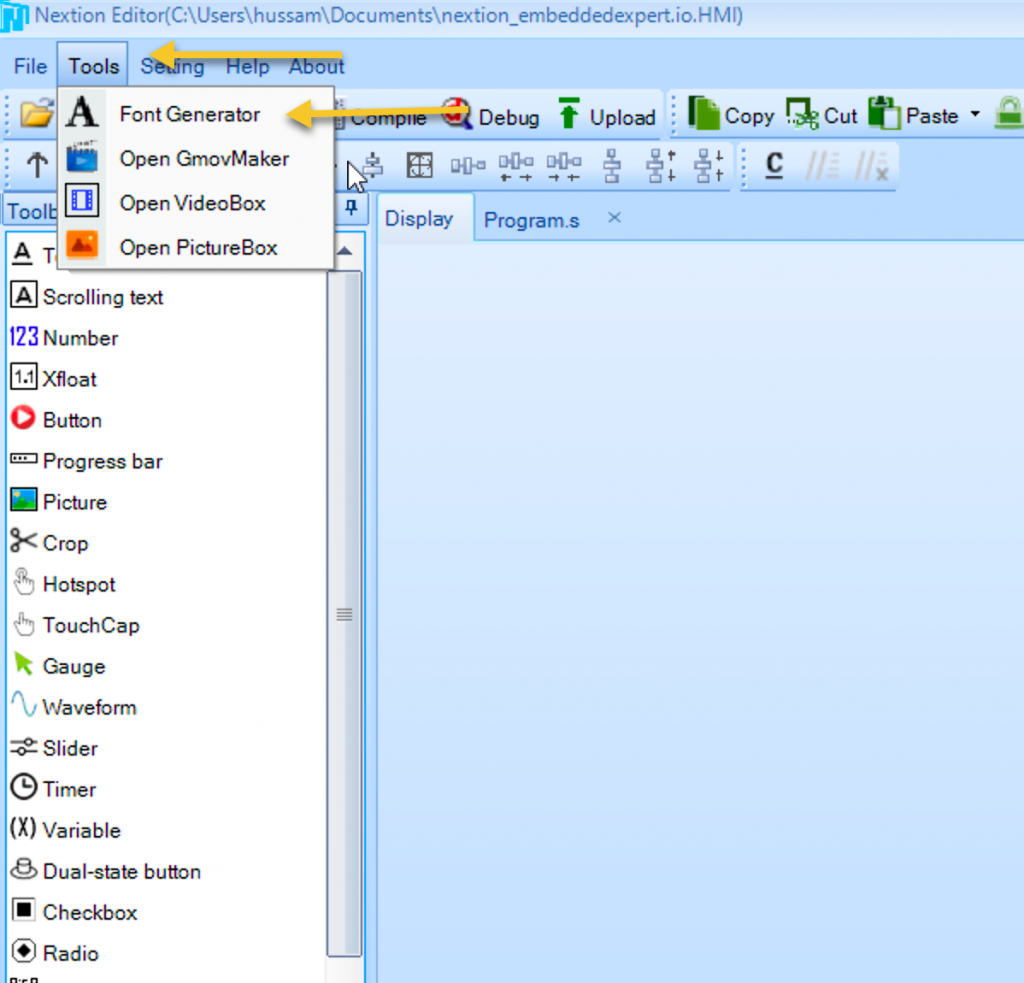
Then, we need to generate fonts as following:
Select the type of font you like and give a name to the font:
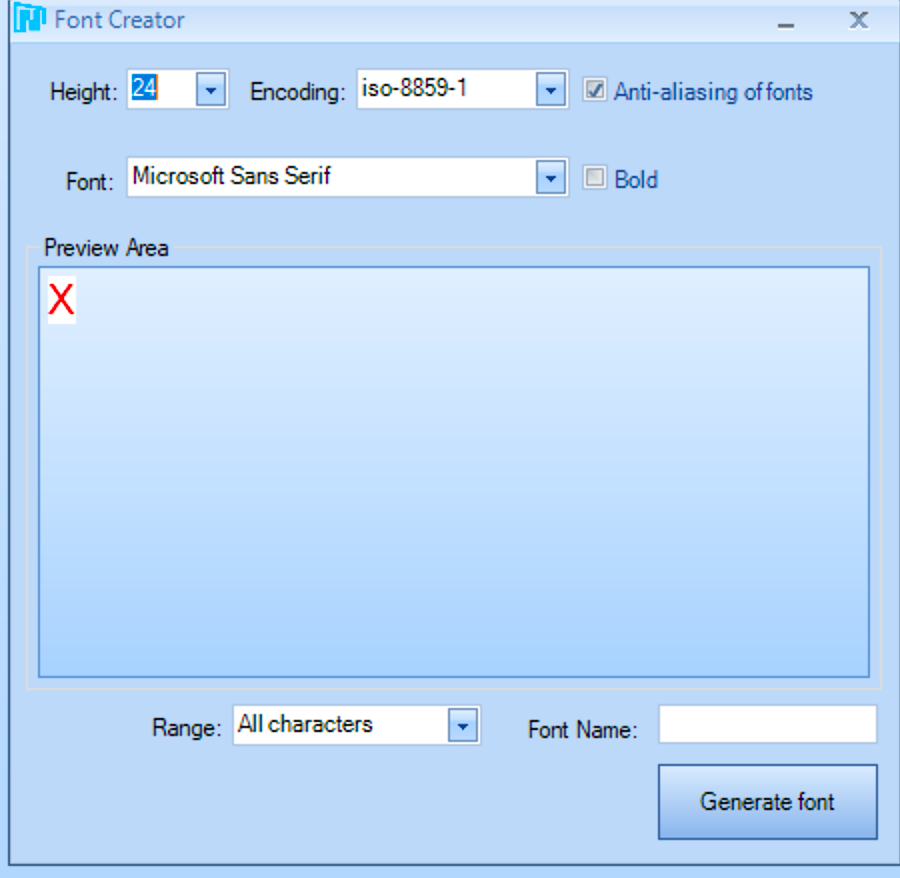
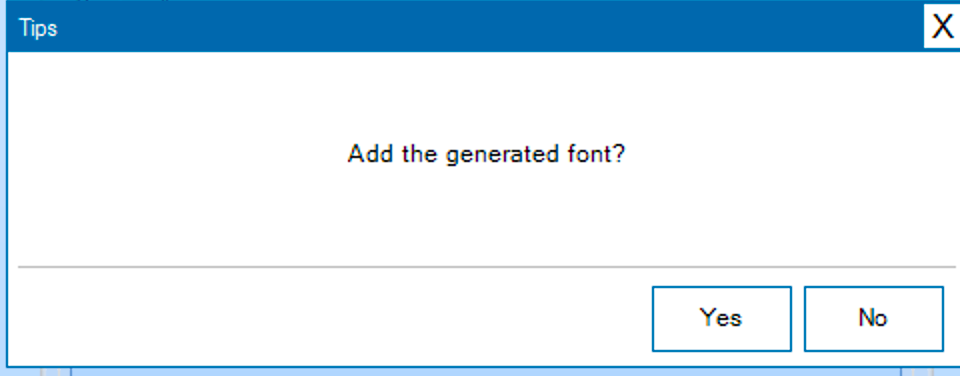
Press Generate font and save the file
After that, press yes.
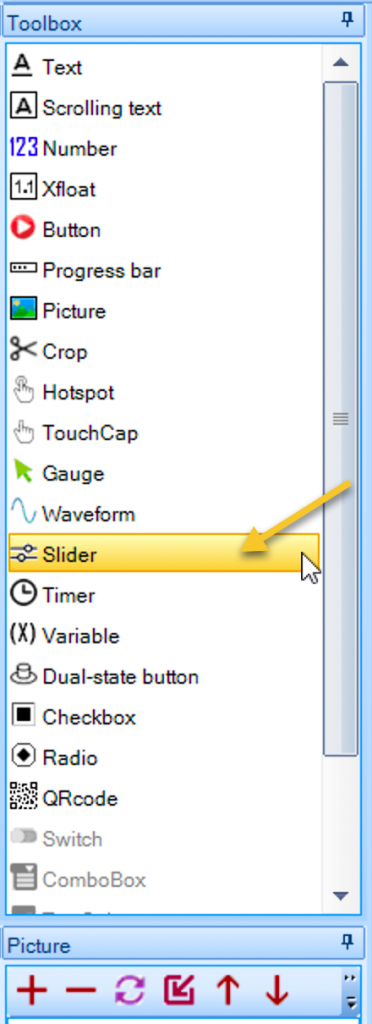
Next, we shall add two sliders:
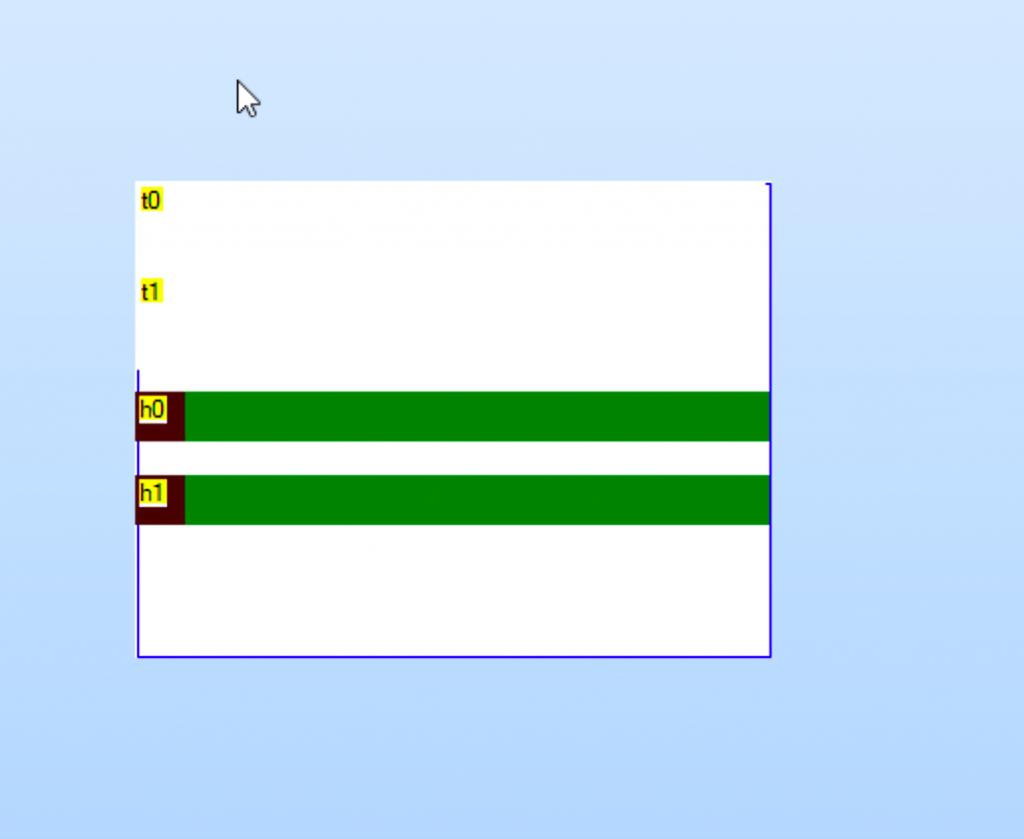
Resize both slider and texts area according to your screen.
It should be something similar to this:
Now clock on the first slider and check the attribute of each element:
Set val to 0
max val to 100
minval to 0
Select the first slider and select Touch Move:
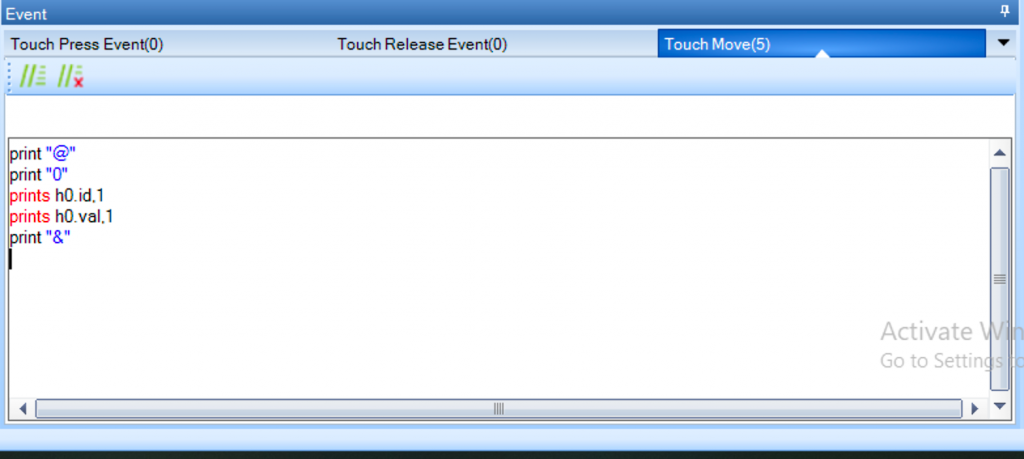
Add the following code:
print "@"
print "0"
prints h0.id,1
prints h0.val,1
print "&"
For the second silder:
print "@"
print "0"
prints h1.id,1
prints h1.val,1
print "&"
Now, debug the LCD code:

Move the slider and you shall get something like this:
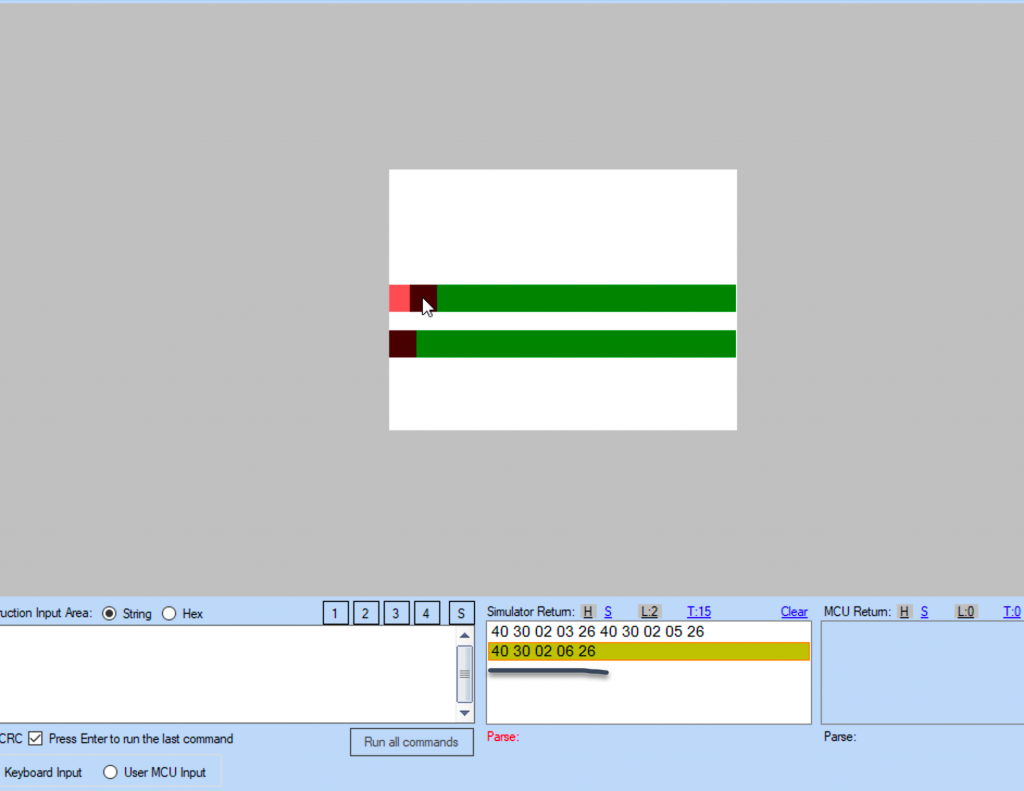
- Character ‘@’
- Character ‘0’
- The ID of the slider (0x02 in my case)
- Silder Value
- 0x26 for character ‘&’
Now upload the code to nextion.
3. STM32F4 setup code:
Inside the process_data function:
if(NEXTION_BUFF[0]==0x40) /*Slider */
		{
  			uint8_t pwm_value;
  			char data_srting[20];

			if(NEXTION_BUFF[2]==0x02) /*First slider*/
			{
				pwm_value=NEXTION_BUFF[3];
				Set_duty(LED0,pwm_value);
				sprintf(data_srting,"LED0 Duty %d",pwm_value);
				nextion_write_text("t0",data_srting);

			}
			if(NEXTION_BUFF[2]==0x04) /*First slider*/
			{
				pwm_value=NEXTION_BUFF[3];
				Set_duty(LED1,pwm_value);
				sprintf(data_srting,"LED1 Duty %d",pwm_value);
				nextion_write_text("t1",data_srting);
			}
		}
4. Demo:
Happy coding 🙂
Add Comment