

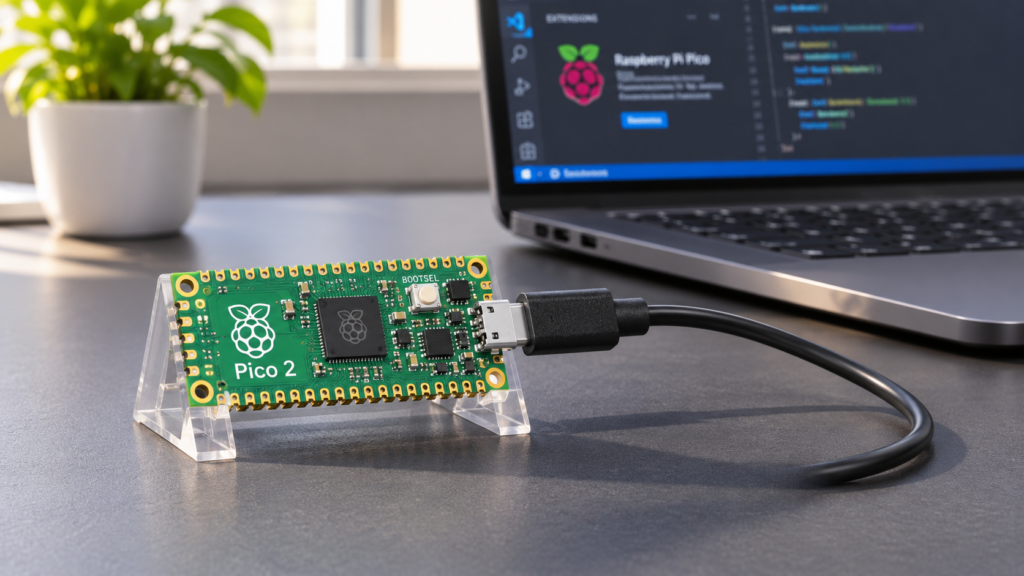
This guide walks you through setting up a complete RP2350 development environment using the Raspberry Pi Pico extension for VS Code, from installing the toolchain to flashing your first program. By the end, you’ll have a verified, working setup ready for the rest of the series.
In this guide, we shall cover the following:
- Raspberry Pi Pico extension installation.
- Start your first project.
- Flashing your project.
1. Raspberry Pi Pico Extension Installation:
In order to install the extension, first, we need to install VS Code.
First, download and install VS code from here.
Select the one according to your operating system, in this case, macOS for this guide series.
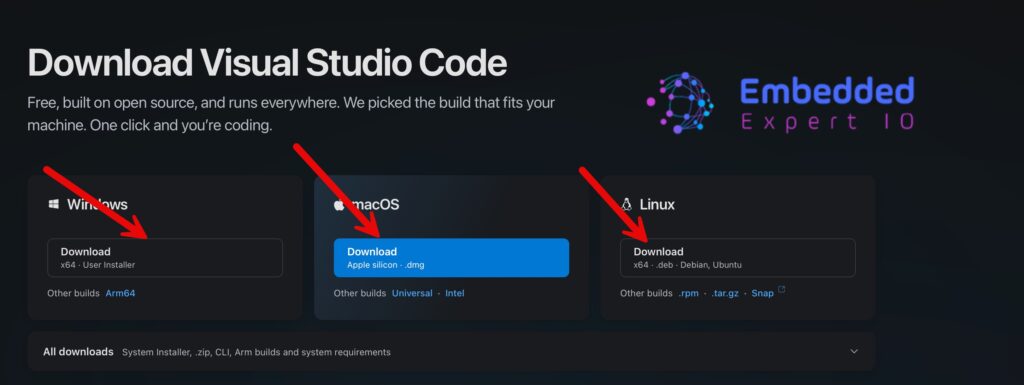
Once you installed VS code, ope the application.
Next, click on extensions, search for pic and select Raspberry Pi Pico and install it as follows:
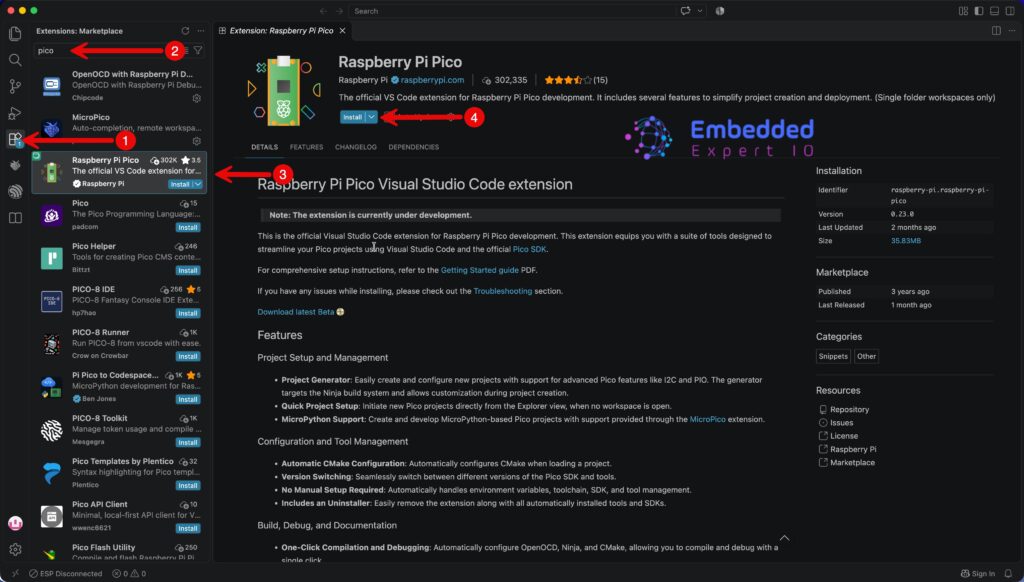
That’s all for the extension installation.
2. Starting Your First Project:
To start your Raspberry Pi Pico project, from left side select Raspberry Pi Pico and start new C/C++ project as follows:
- Give the project a name.
- Select Pico 2 or Pico 2 W ( This guide shall us Pico 2 W)
- Enable Console over USB to retarget printf
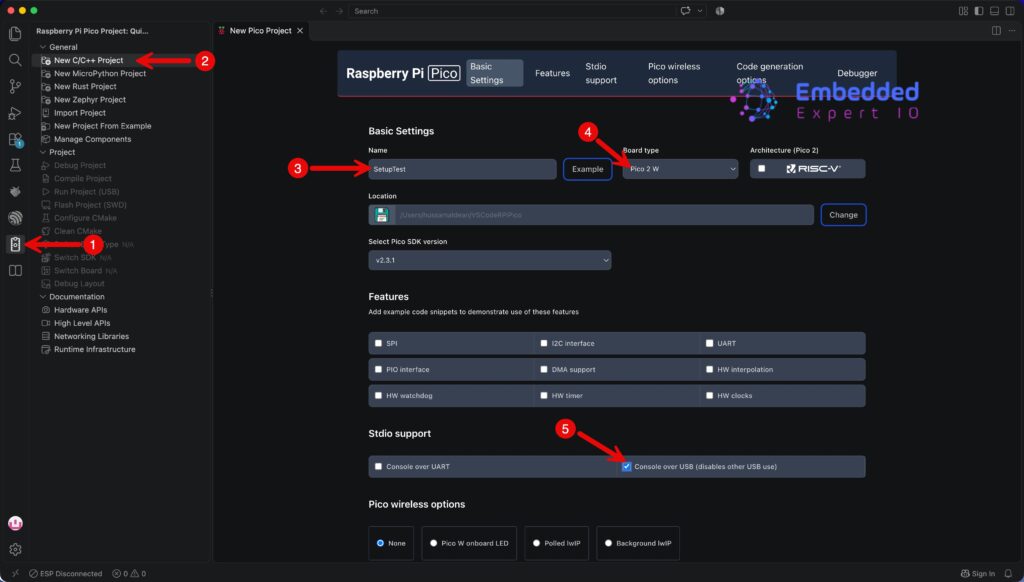
Finally, click on Create and this will create your project, download and install the SDK. This will take a while.
Once the installation is completed, open the main.c file as follows:
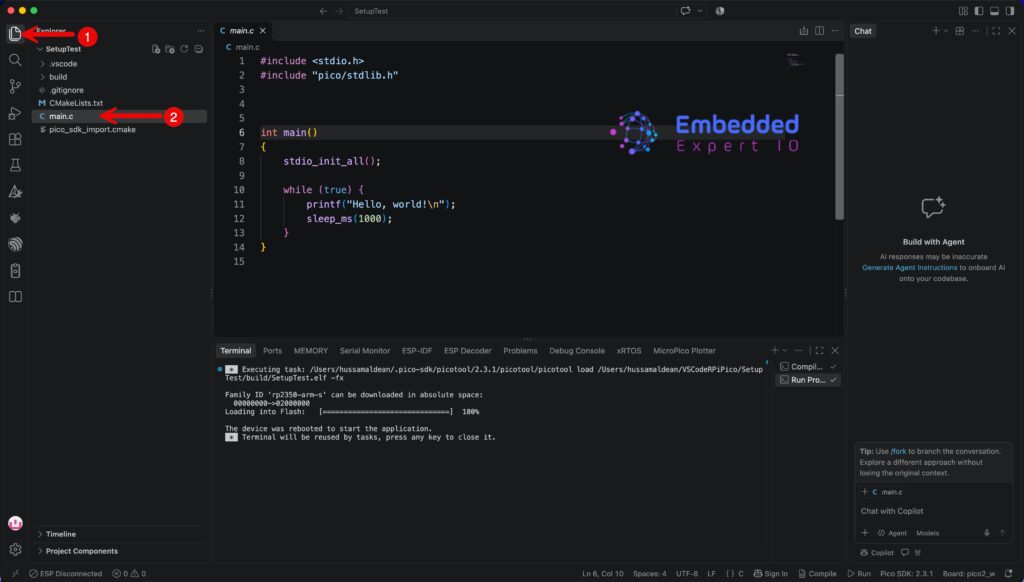
Thats all for creating your first project, we shall use this default project as starting point.
3. Flashing Your Project:
First, hold the boot select button on your Pico and connect your USB cable as follows:
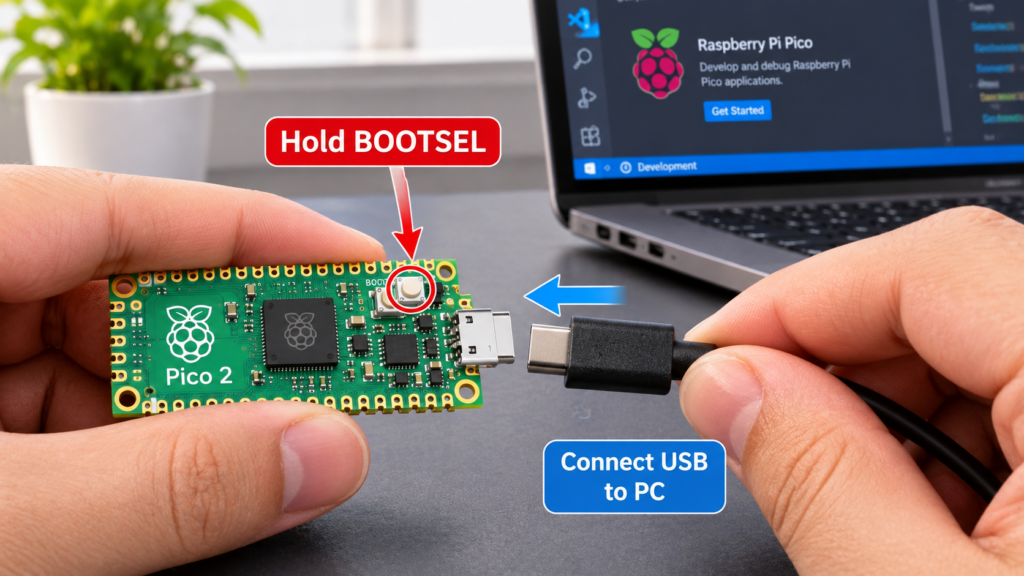
This will mount the flash as external storage.
Next, from Raspberry Pi Pico extension, click on Run Project (USB) as follows:
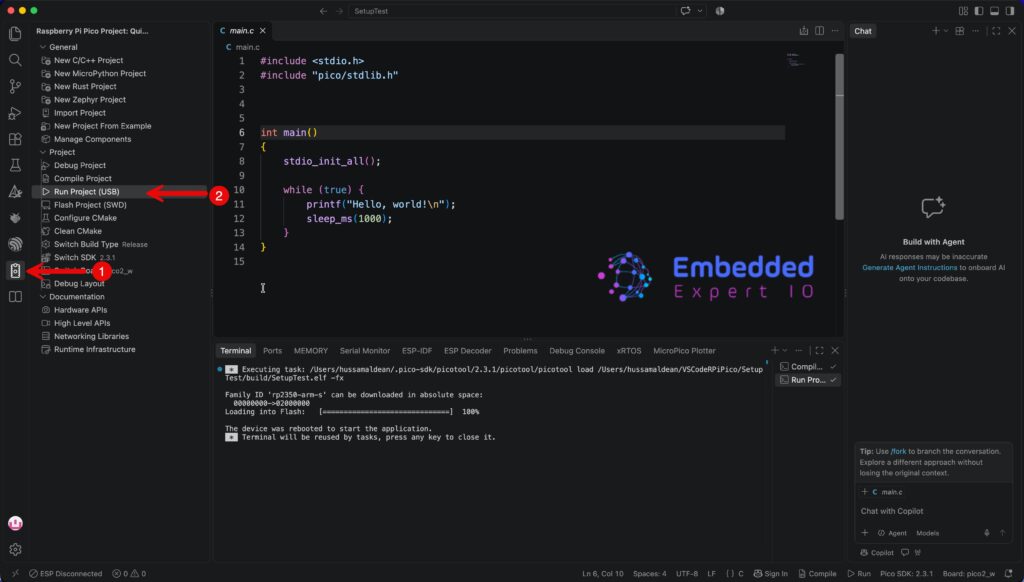
This will compile the project, generate .uf2 file and flash your firmware.
Finally, using serial application, you can see Pico as serial port, open it at any baudrate and you should get the following:
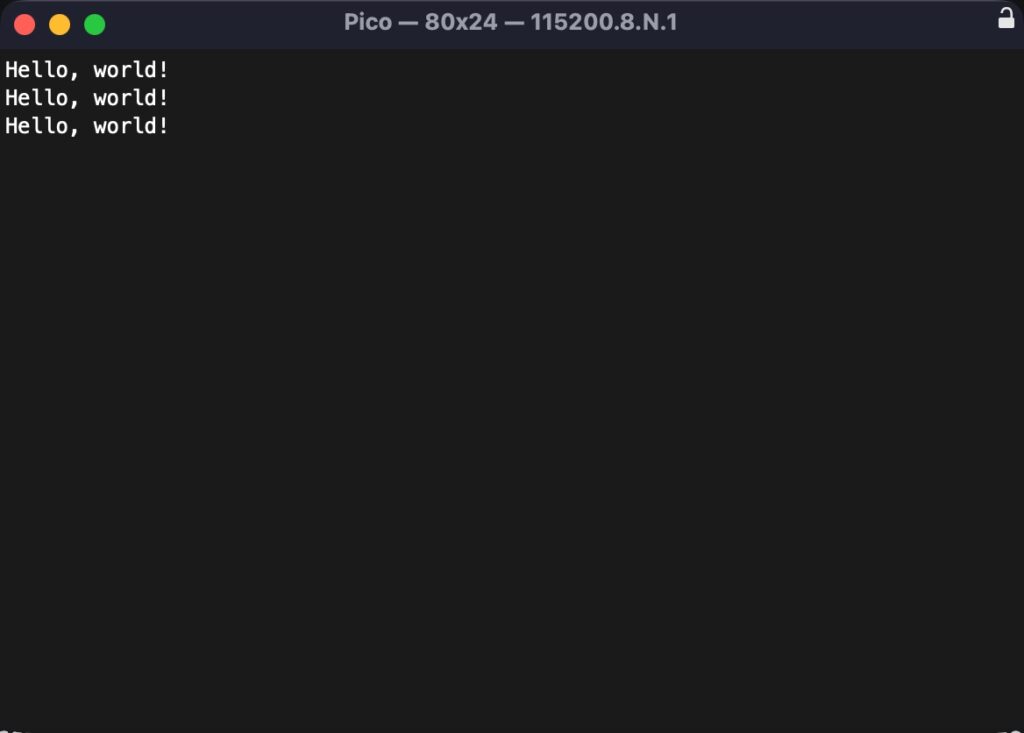
Congratulations, you flashed your project and able to print serial data on the console.
In next part, we shall dig deeper and start blinking an LED.
Stay tuned.
Happy coding 😉

Discussion